
Timeline and media
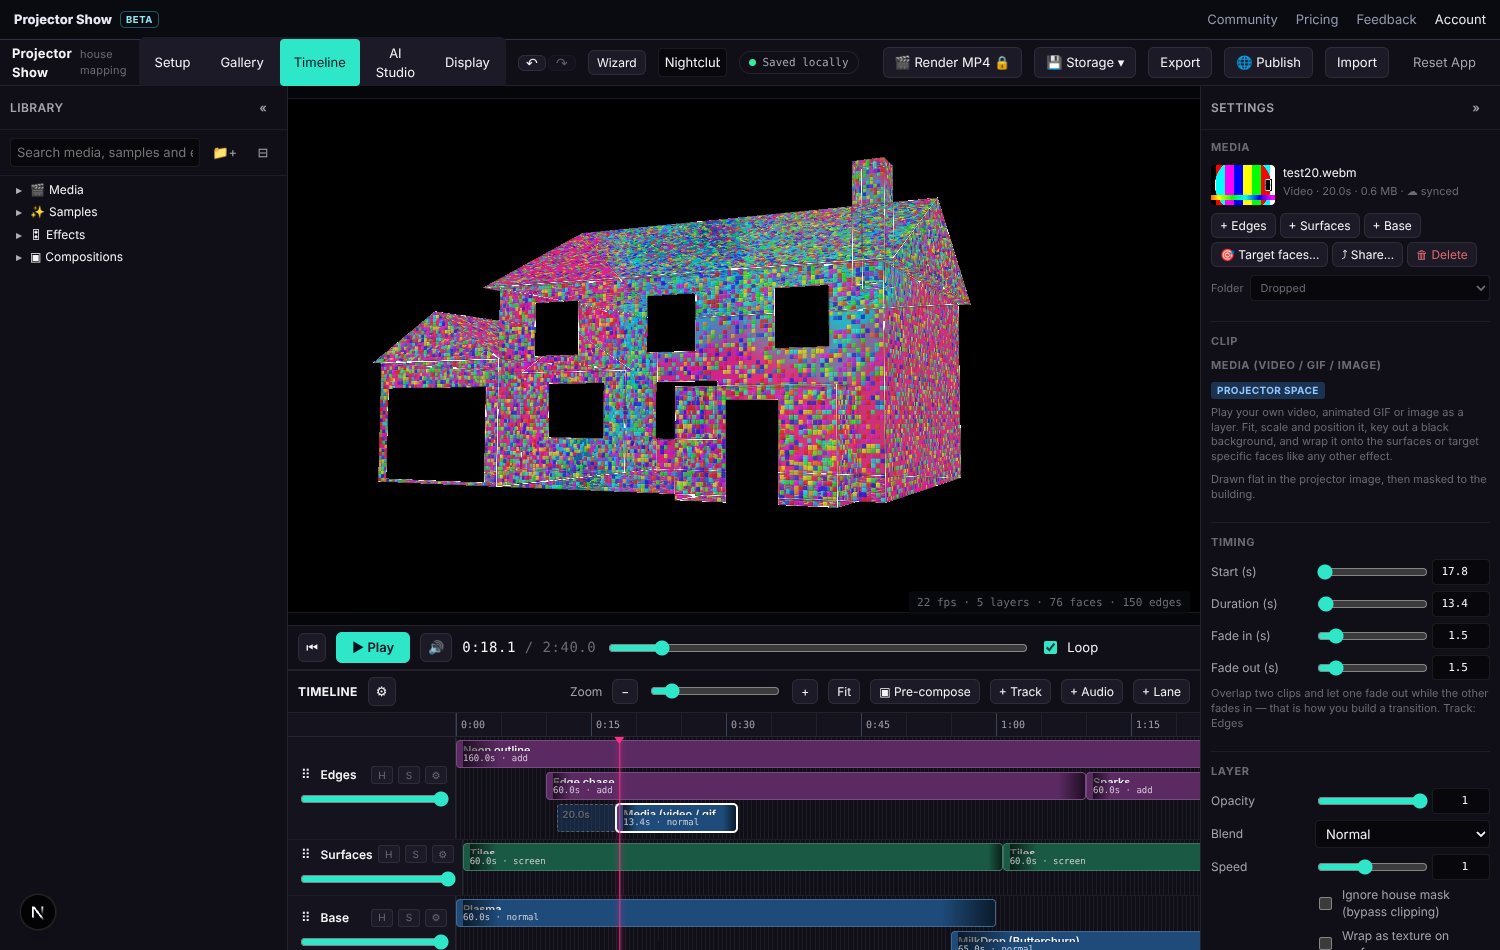
The Timeline tab is the show: the Library on the left, the preview of the house in the middle, the timeline underneath and Settings on the right. Any of those panels can pop out into its own window from View → Panels in their own window (a real window in the desktop app).
Tracks and clips
- A show is a stack of tracks; the top track is drawn in front. Tracks have opacity, mute and solo.
- A clip plays one effect, video, image, sound file or composition from its start for its duration. Drag a clip to move it, drag either end to trim it, drag it up or down to another track. Clips snap to the beat grid; hold Alt to place freely.
- Each clip has its own blend mode, opacity, speed (negative runs it backwards) and fades. Fades scale with the clip when you retime it.
- Transitions are overlaps. Give one clip a fade-out, the next a fade-in, and slide them over each other.
- Some effects (Growth, Dissolve bricks, Structure build) can drive themselves from the clip's own progress, start to finish over its length; they make good openers and closers.
- The show's duration, BPM and loop live in the Settings panel. Ctrl+wheel or a pinch zooms the timeline.
Media on the house
Drag video, images or sound from your computer or the Library's Media tab:
- Onto the timeline to line them up in order on a track.
- Onto a face in the preview to play there, at the playhead. The house is drawn while you drag so you can see which face you are over.
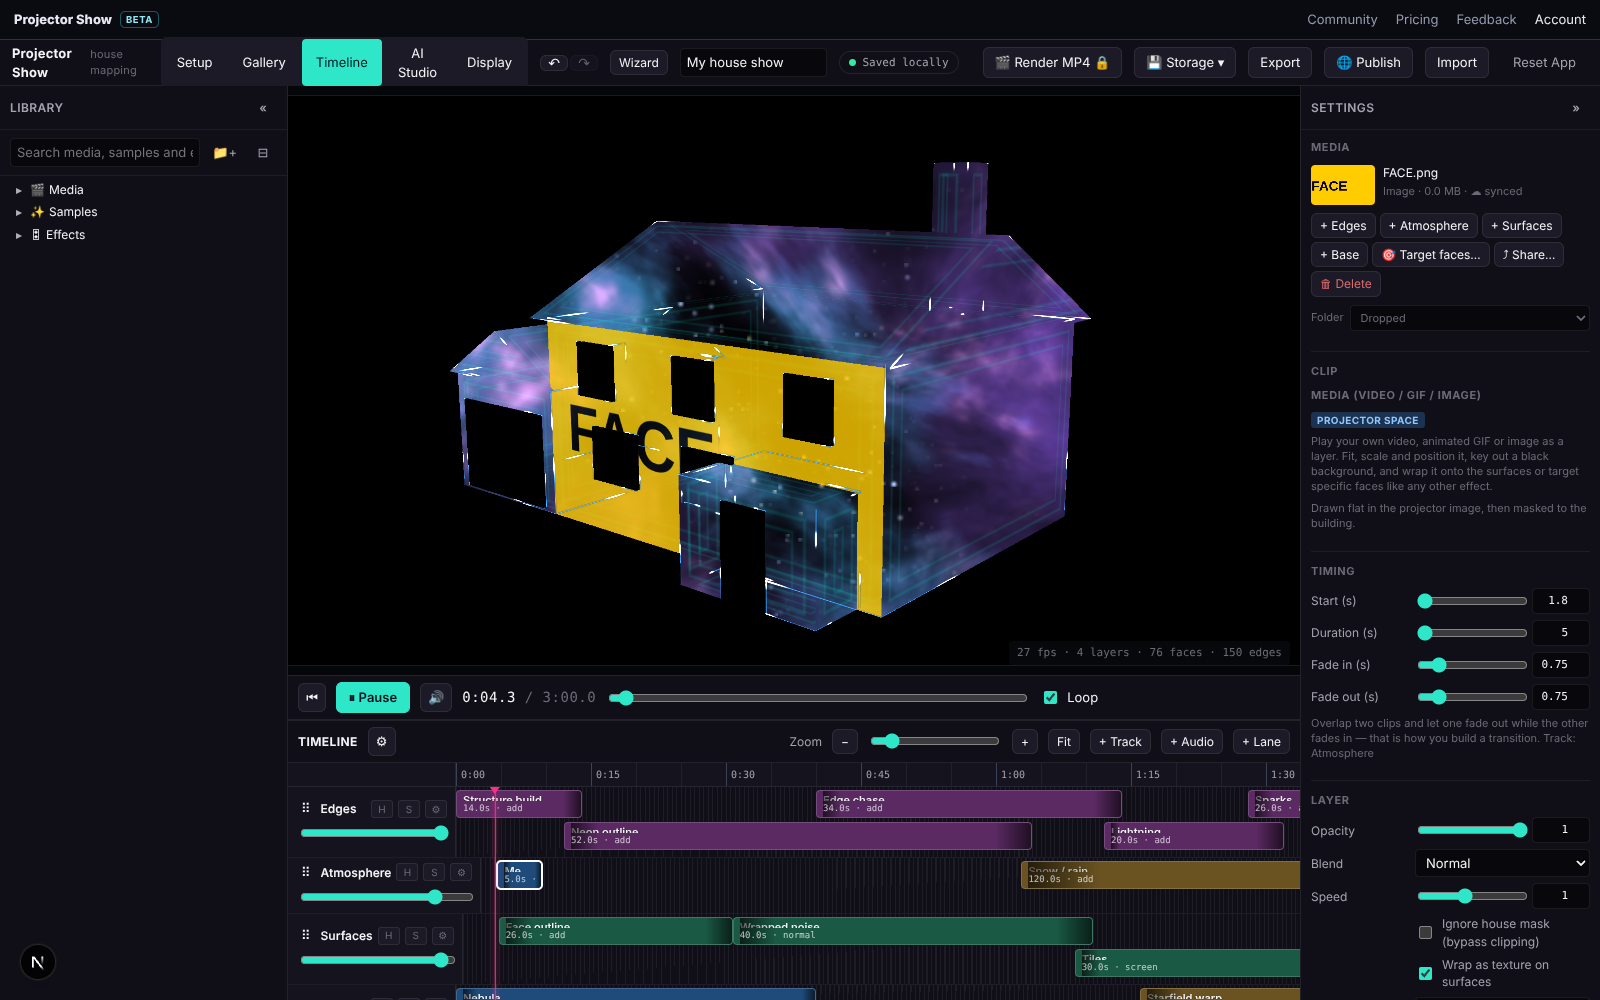
A media clip has a fit for its face: stretch, contain, cover or tile. Fit to a picked face sizes a clip to exactly one face. For a wall the trace split into several faces, One picture across all its faces spreads one picture over the lot.
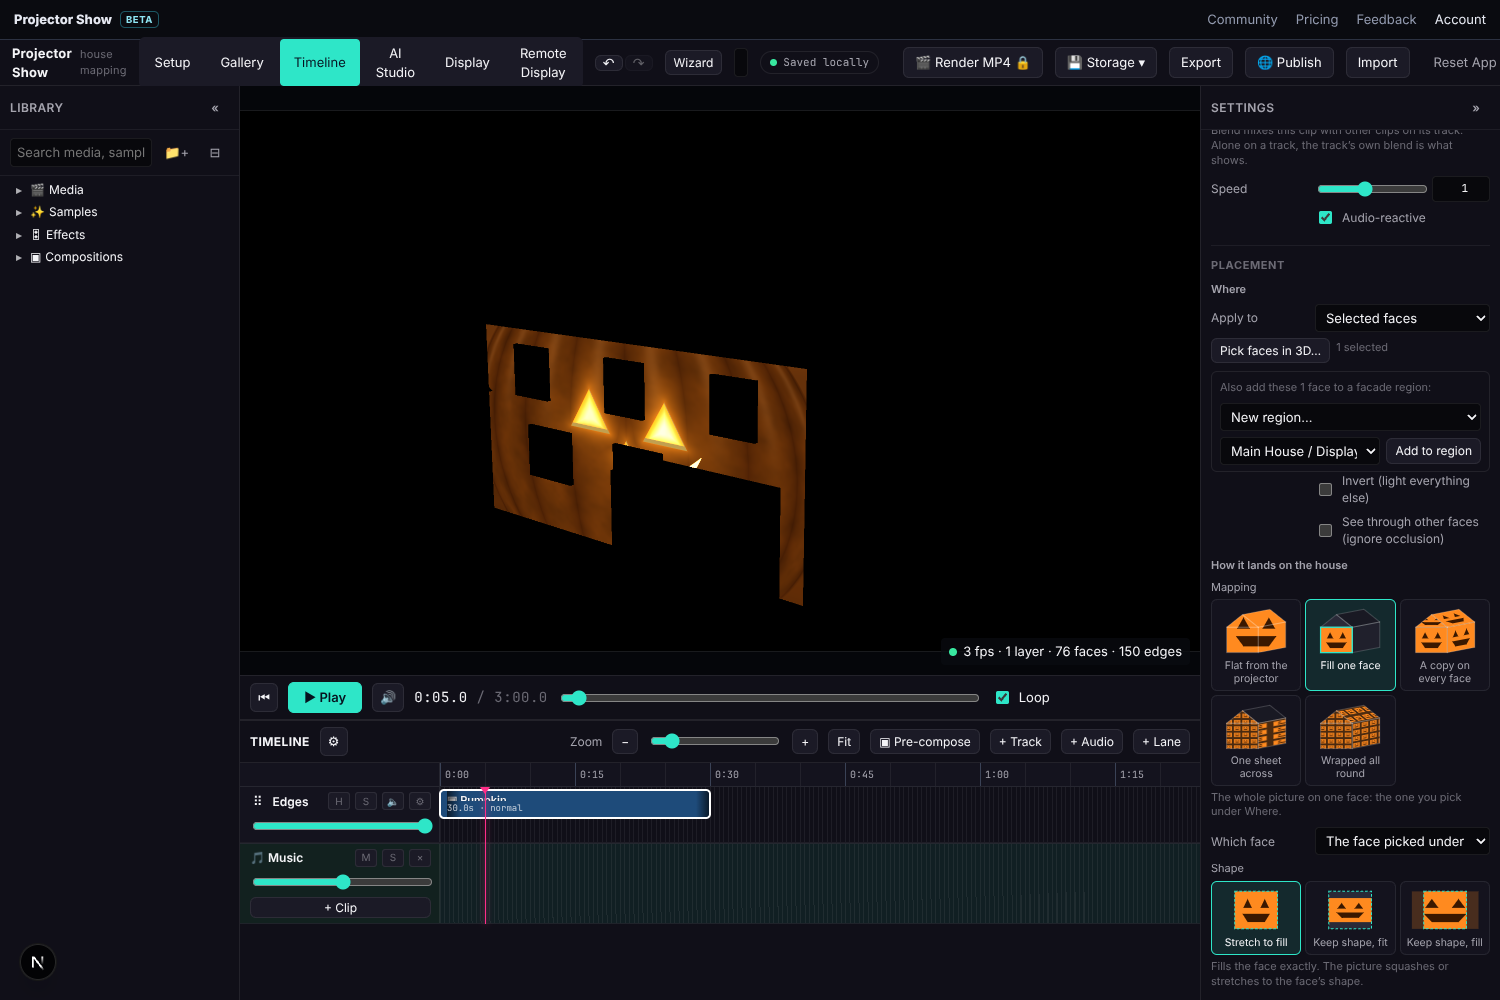
Video sound plays with the clip by default; turn it off per clip or move sound onto its own lane. Big video files are previewed from lightweight proxies (Settings → Preview videos from proxies, 540p or 720p); the projector window and renders always use the originals.
Compositions
Select clips and group them into a composition. It opens in its own tab across the top, next to the main show, like files in a code editor, and you can place it on the timeline as many times as you like. A composition has its own size and length. Lip Sync animations are compositions too, which is how a character ends up on a face of the house.
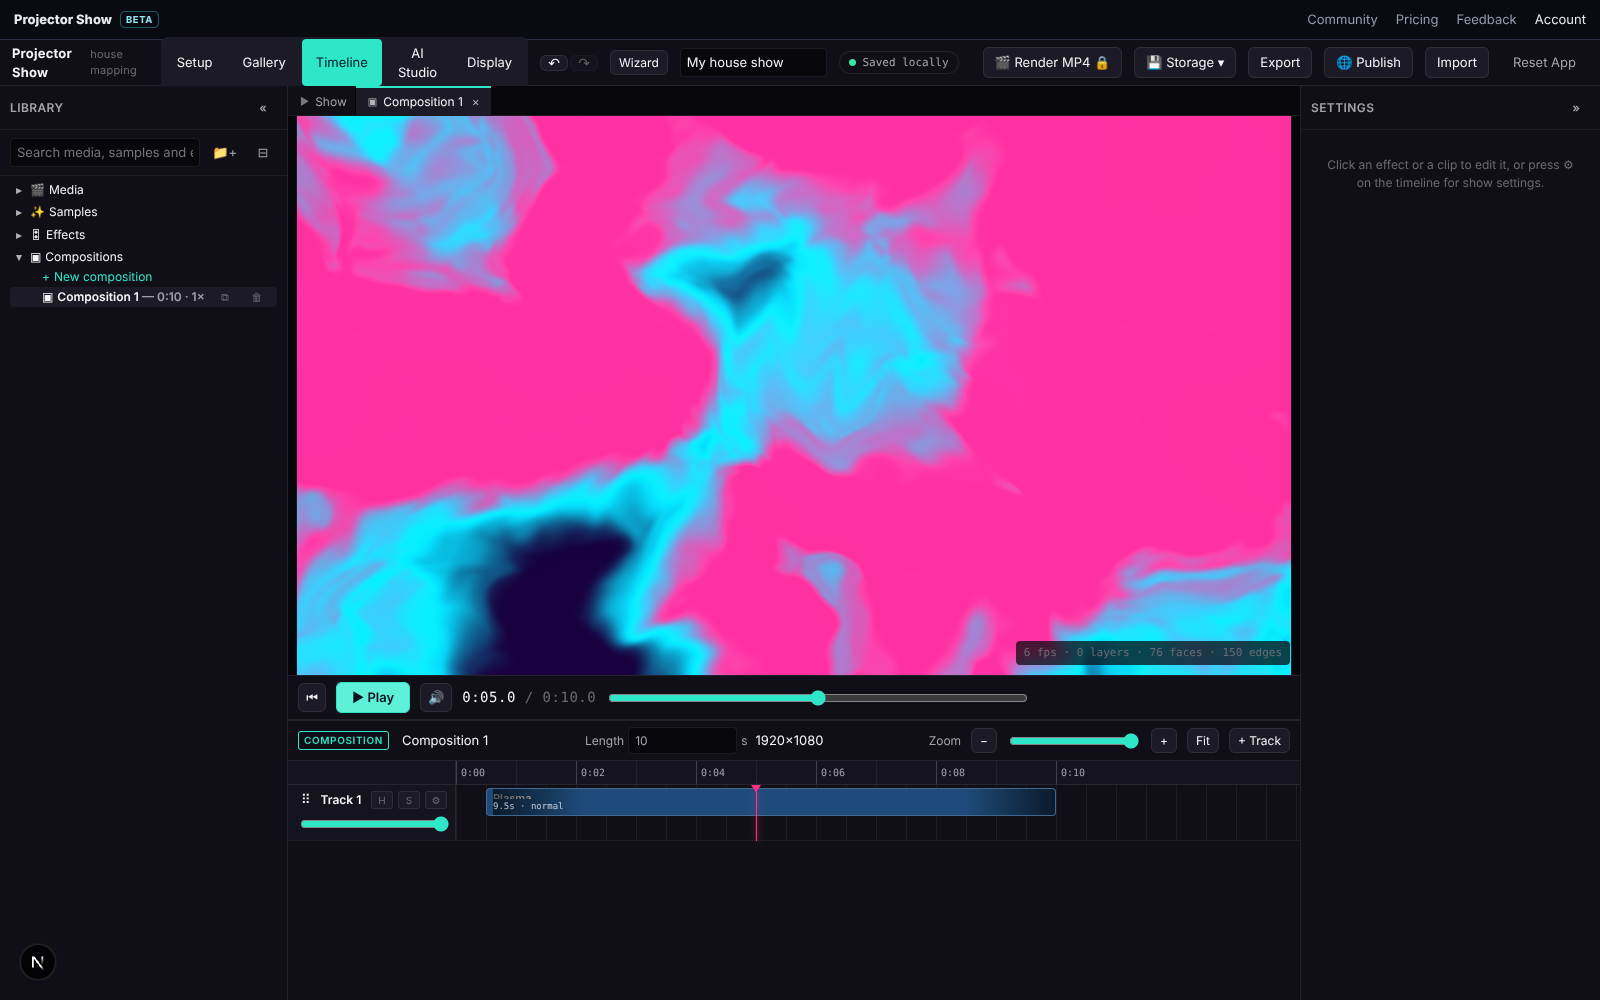
Quick drop: hover a face with a composition or a media item and drop it there to make a clip fitted to that face in one move.
Sound
Drag a song onto the timeline, or connect a microphone, and every effect gets bass, mid, treble, level, a beat pulse and the spectrum. Beat sensitivity, Smoothing and Input gain are in Settings. A vocal mark on the music lane tells characters when there is singing to mouth.
Shaping the house in the show
A show can change the house without going back to Setup: Cut in a window, Cut through a wall, Join blocks, set the house size so effects scale, and pick a main stage for this show only. Effects respect the new holes and recesses.
Performance
The Settings panel has a Live resolution (what the show is drawn at in the preview, the projector window and on Live displays; lower is faster on a slow box), a Quality mode (auto, full, balanced, performance), a target FPS, and Limit flashing. A playback stats panel shows what is slowing things down. Exports always use the show's resolution.
Saving, revisions and sharing
- File → Save (Ctrl/Cmd+S) saves to your account; Save as… makes a copy.
- File → Open a saved show… lists your shows, layouts and revisions. Every save is a revision you can go back to, and edits made by an AI assistant are labelled there.
- File → Export show file downloads the show as a
.jsonfile; Import show file… opens one. - File → Publish to community… shares the show in the Gallery for others to view and put on their own house.
Render to MP4
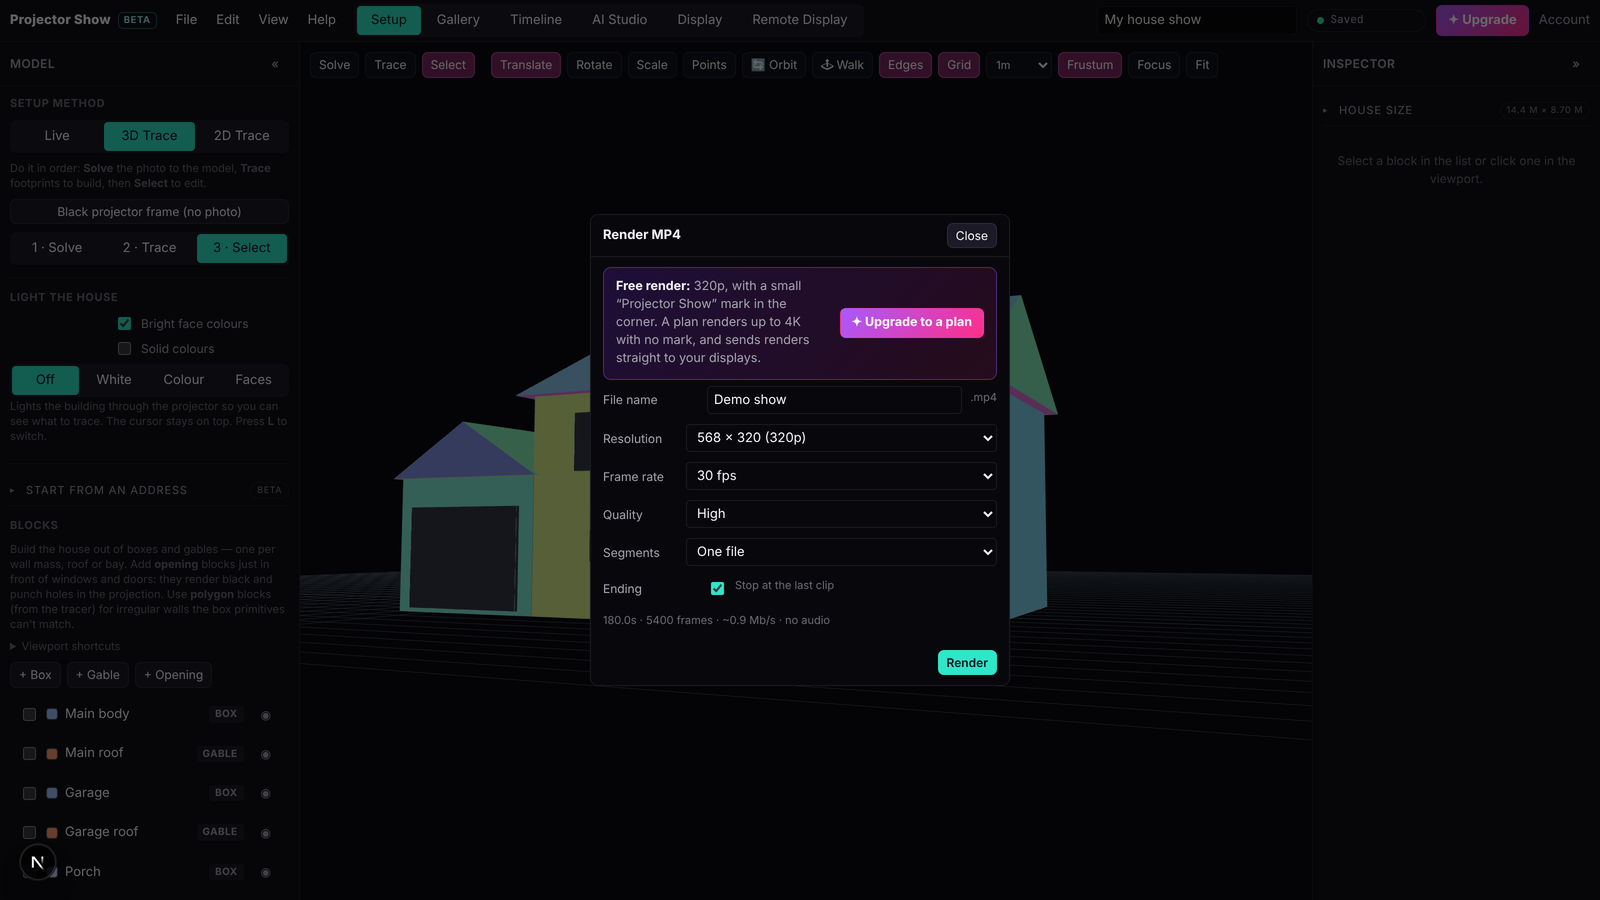
File → Render MP4… writes the show as an H.264 video, stopping at the last clip. That file is what playlists on a player box play. Free accounts render at 320p with a small Projector Show mark in the corner; a paid plan renders up to 4K without it. A render that uses a premium effect you have not unlocked is refused until you do.
Keyboard shortcuts
| Keys | Does |
|---|---|
| Space | Play / pause (from the designer or the projector window) |
| ← / →, Shift+← / → | Nudge the playhead one second, ten seconds |
| Home | Back to the start |
| Ctrl/Cmd+Z, Ctrl/Cmd+Shift+Z | Undo, redo |
| Ctrl/Cmd+A | Select every clip |
| Delete | Remove the selection |
| Ctrl/Cmd+D | Duplicate the selection |
| S | Split the primary clip at the playhead |
| Shift-click, Ctrl-click | Add a clip to the selection; drag on empty timeline for a marquee |
| Alt while dragging | Ignore the beat grid |
| Ctrl/Cmd+S | Save |
| F (projector window) | Fullscreen |