
Map your house
Everything in a show is built on a model of your house: boxes and gable roofs for the walls and roof, openings for the windows and doors, and a projector camera that stands where the real projector stands. Effects use that model to wrap round corners, drip from rooflines and pick the windows as eyes. The Setup tab is where you build it.
You do not need to measure the house with a tape. The fit box works out where the projector is and how wide its lens is from what you line up, and you can set the real size of the house afterwards so effects scale to match.
Three ways in
The switch at the top of the Setup tab picks the method:
| Method | When to use it |
|---|---|
| Live | You have the projector on the house right now. A black, projector-sized frame stands in for the photo; you fit the box and trace straight onto the real building. The most accurate route, because what you draw is what lights up. |
| 3D Trace | You have a straight-on photo of the house. Solve the photo's perspective from a fit box, then trace real 3D volumes on its faces. Good for designing before the projector is set up. |
| 2D Trace | Draw flat vector surfaces straight over the photo. Fast, keeps a basic perspective, no depth or wrapping round corners. You can add the 3D another day. |
Help → Setup wizard walks through whichever you choose, one step at a time.
Live setup, step by step
Live setup works on two screens: the designer is your workbench and the projector window is what lands on the building. Open the projector window from the panel on the right, drag it onto the projector and press F for fullscreen. It mirrors the designer, so what you draw here lights up there.
- Put a window on the projector. Pick the show resolution while you are here: the show renders at one fixed size for its whole life, and the projector window reports the screen it landed on so one button matches the two.
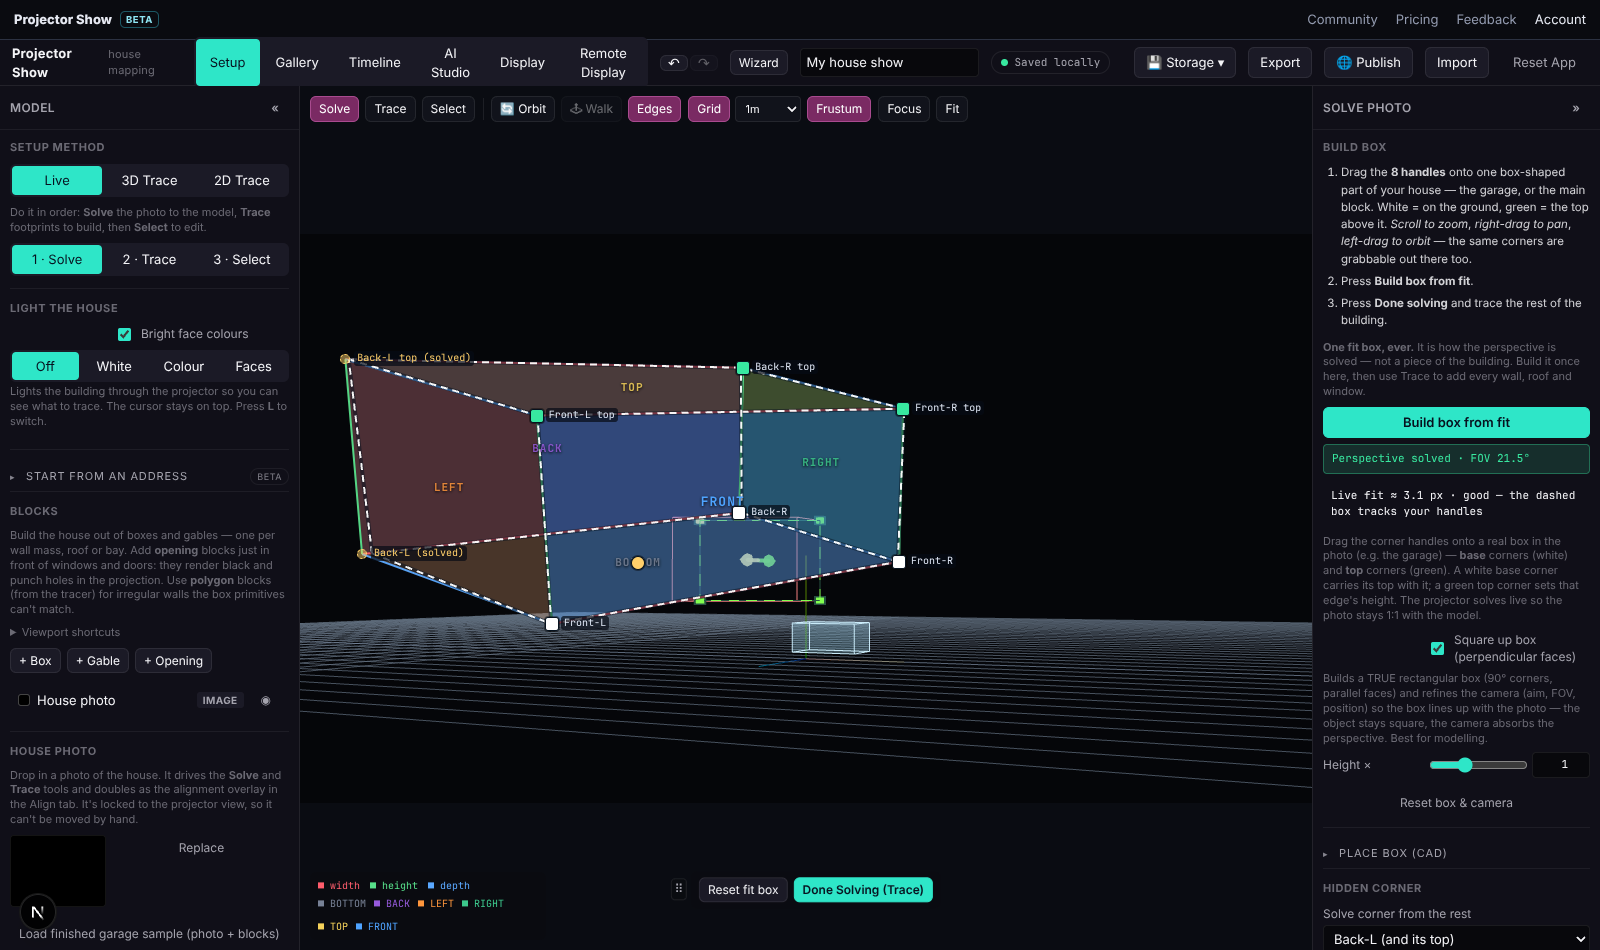
- Settle the perspective. If you can see a corner of the building (two walls meeting), drag the eight grips of the fit box onto that mass. Its edges give three vanishing points, which give the projector its pose: where it stands, how it is pitched and rolled, and how wide it throws. A dashed ghost shows the box the solve would build; where the ghost pulls away from a grip is your error. The panel grades the fit (solid, rough, off). Type the lens height off the ground: it is the one real length that turns the fit into metres. If you can only see one flat face, trace flat instead.
- Draw the surfaces. Draw outline lets you click corners anywhere on the canvas; click the first grip again or press Enter to close it. Double-click an edge to add a corner, Delete removes the one under the cursor, and every grip stays draggable. The grid drawn on a surface is in real squares, so line it up with the brick courses and window rows and the tilt is right.
Keys: Enter closes an outline or builds what you placed, Esc discards it, arrow keys nudge (Shift for more), G toggles the guides, P the alignment grid, and [ / ] widen the work area beyond the beam so you can place a corner the projector does not reach yet.
Tracing from a photo (3D Trace)
Drop a photo into House photo and work through the three build tools:
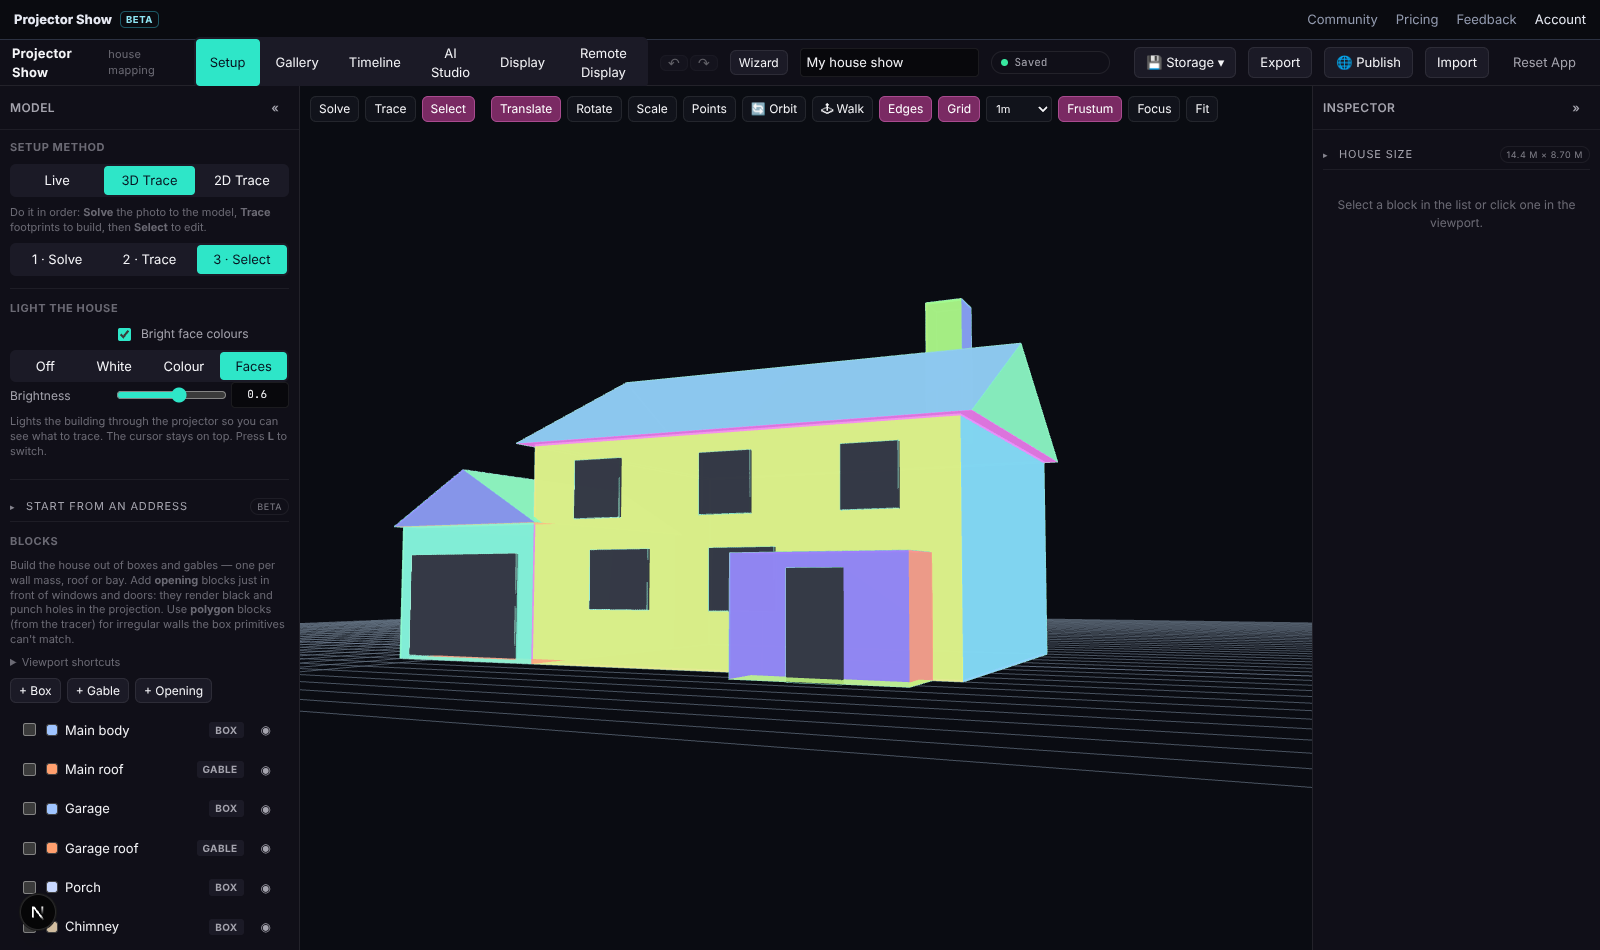
- Solve. Drag the fit-box handles over one rectangular mass of the building (the garage, the main box). With auto-solve camera on, the 3D view now looks through the same lens the photo was shot with. Square up box squares the solid to the world axes so later traces extrude cleanly.
- Trace. Pick a working plane (the Plane dropdown, or click a face in the viewport with Choose face / orbit on; the chosen face is drawn red through anything in front of it). Press Start drawing, click the footprint corners, close the loop, set Extrude depth and Extrude. Click a different face to keep going. Ctrl/Cmd+Z undoes the last point, + Box on this plane drops a default box, and the Cursor magnifier zooms in around the pointer.
- Select. The normal edit tool: click a block for the gizmo (Translate, Rotate, Scale) and tune it in the inspector.
Each block has a role: a projection surface takes part in the show; an opening is always black and knocks a hole in the silhouette. Put thin opening blocks over the windows and doors.
Cut-ins, cut-throughs and joins
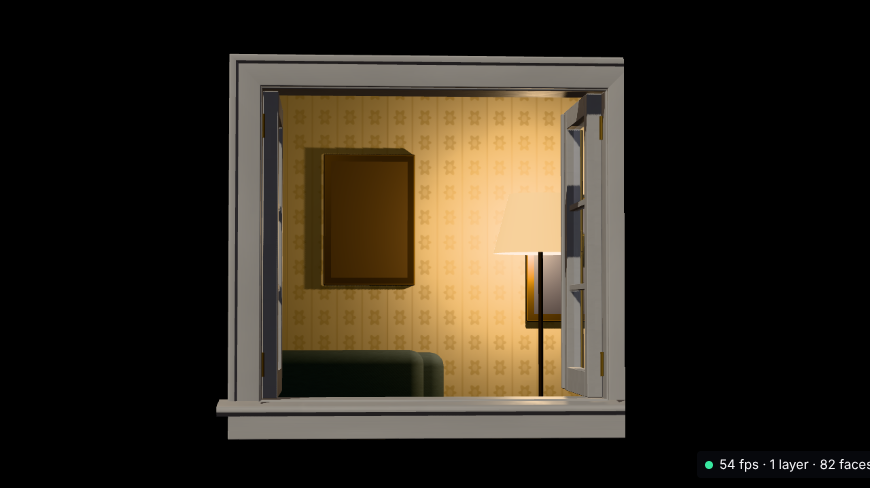
Real houses have recessed windows, porches and garages set back from the wall. Select a face and use Cut in to sink a recess into it, Cut through to cut a hole right through, or Join to merge blocks into one. Effects respect the new holes and recesses, the recess faces are pickable like any other face, and the windows and doors effects build their 3D doors and rooms on the openings you cut.
House size
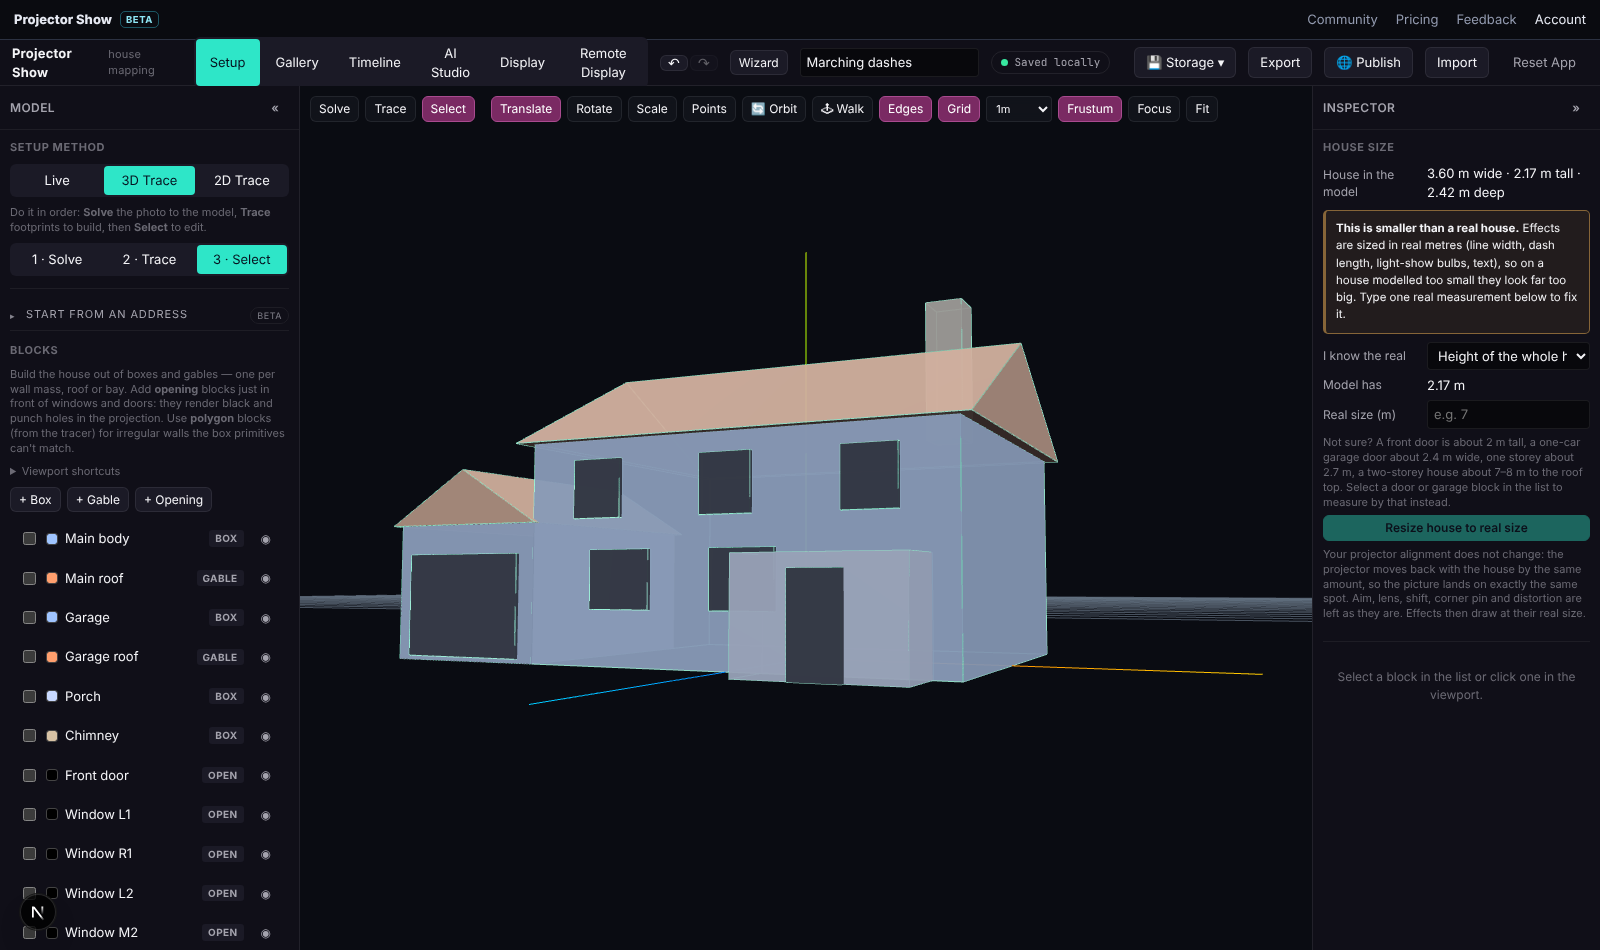
The fit box gives shape, not scale. Under House size, set the real height (or width) of the house and every effect scales with it: bulbs come out the size of bulbs, bricks the size of bricks and characters the size you meant. A warning appears in Setup when the house looks too small for the effects on the timeline.
The House panel and the Audience view
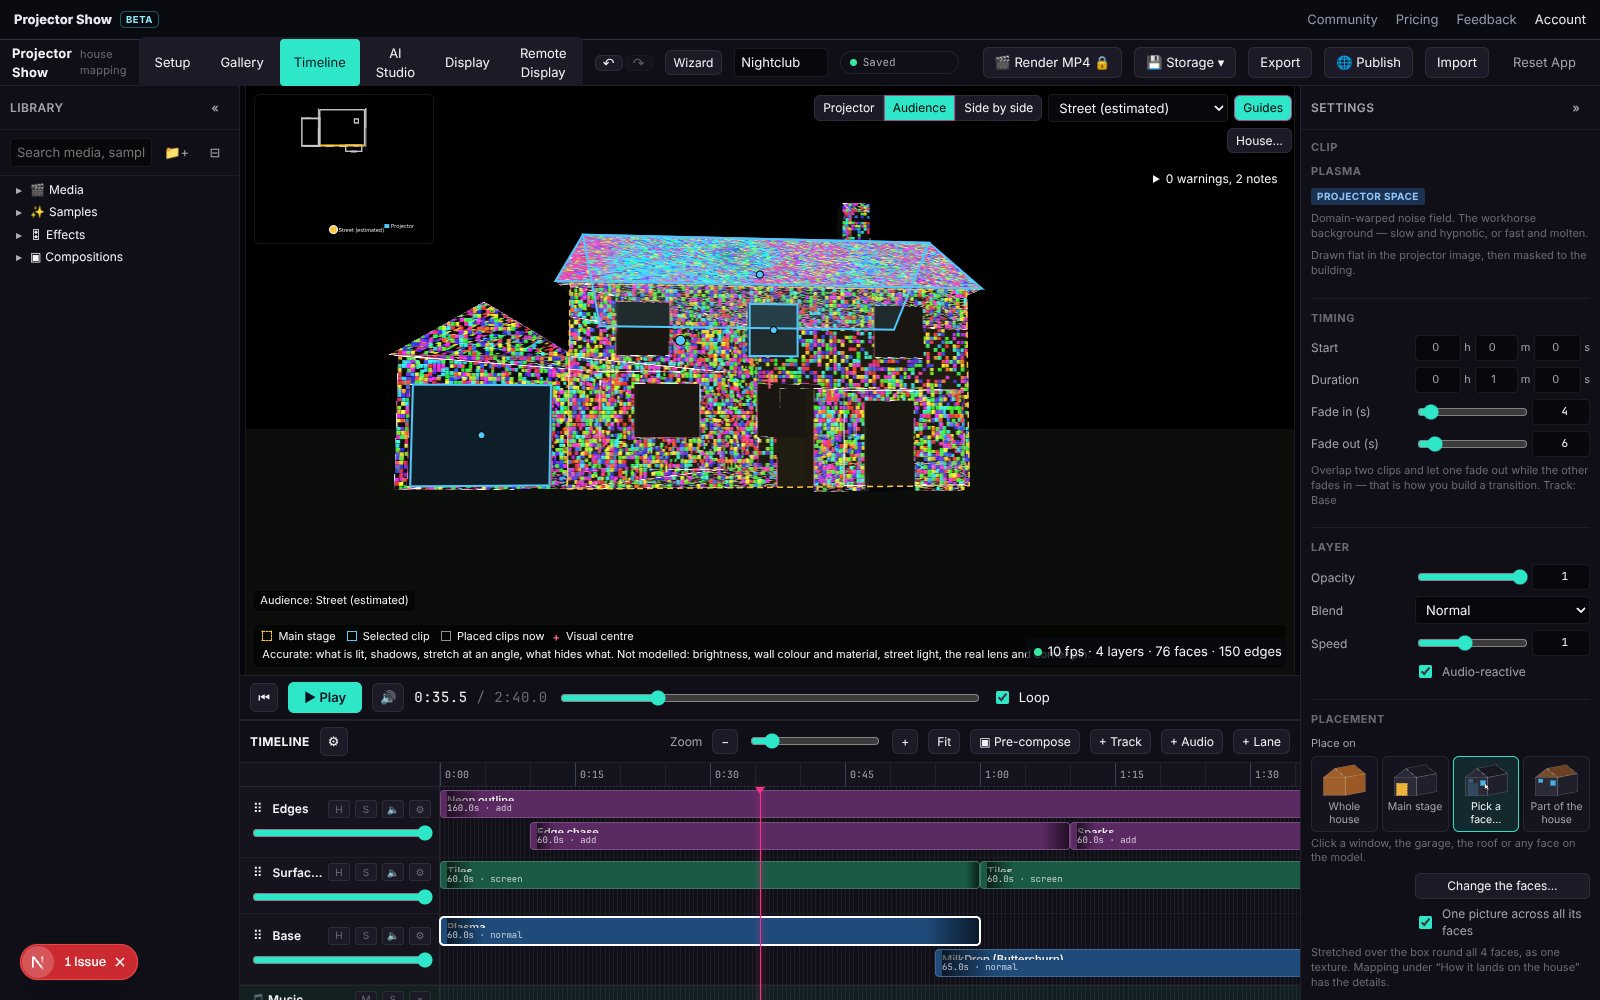
Once the house is traced, the House panel names what it sees: the garage, upstairs windows, the front door, the main stage. Type to label a face; guesses it is unsure of are shown in red until you confirm them. The main stage can be several parts. Those names are what Place on uses when you put a clip on "every window" or "the garage", and what the AI assistant reads.
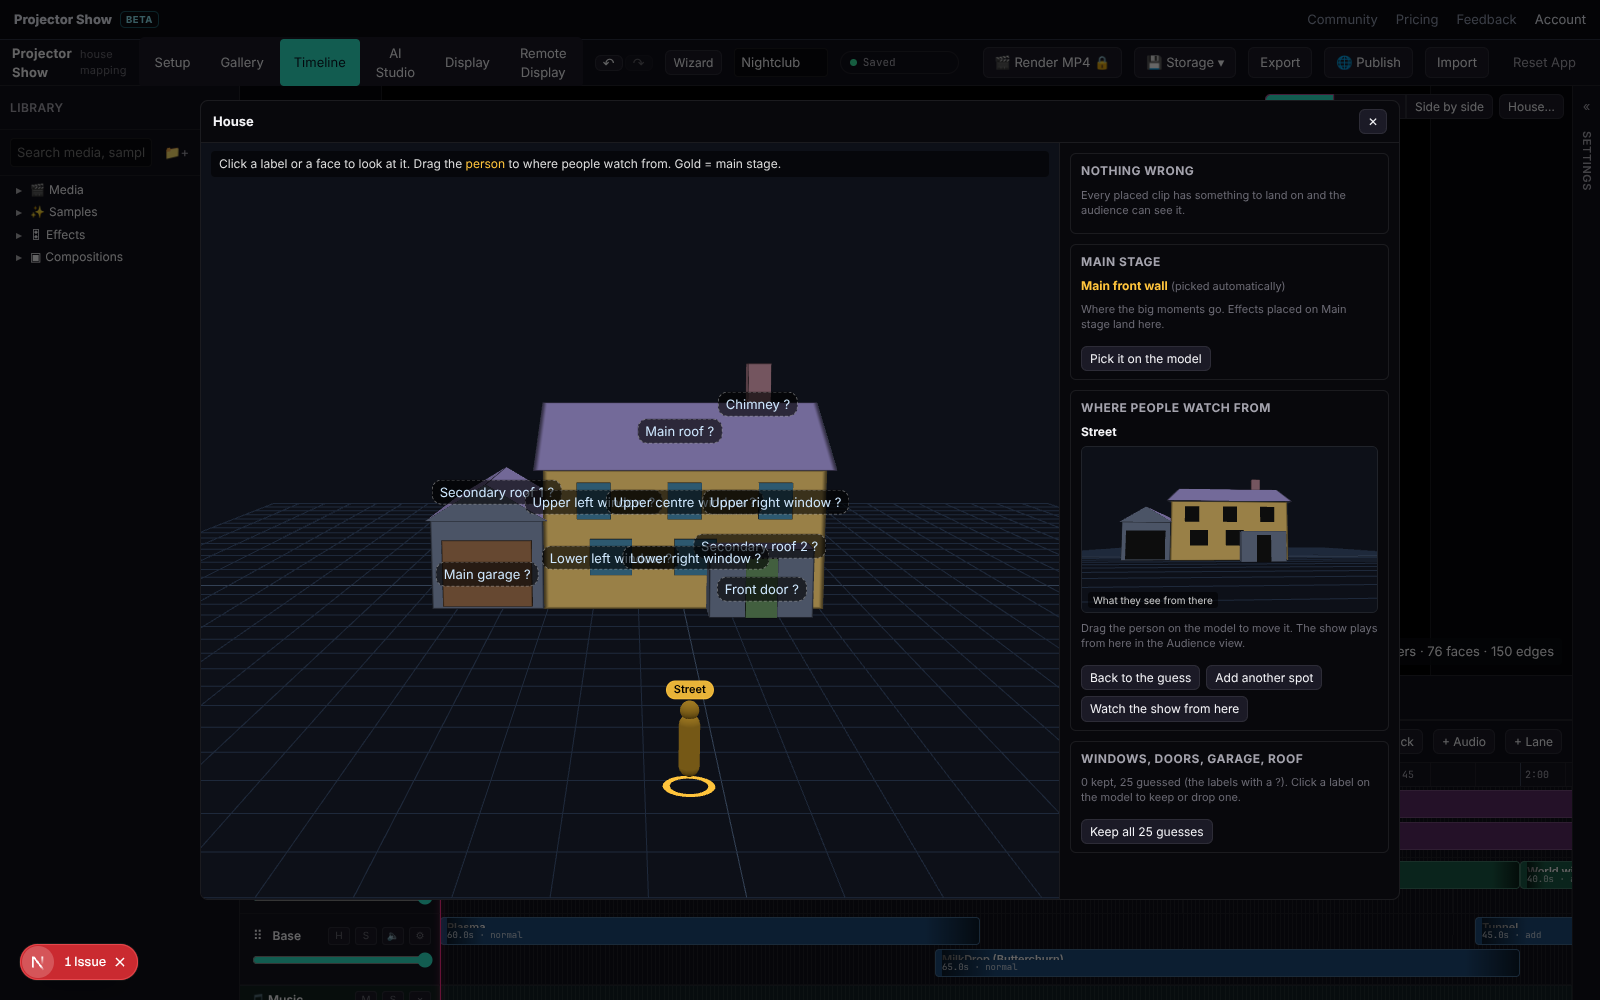
The Audience view shows the house from where people will stand, clean by default, with a Guides button for the face outlines and a mini-map.
Check it on the real house
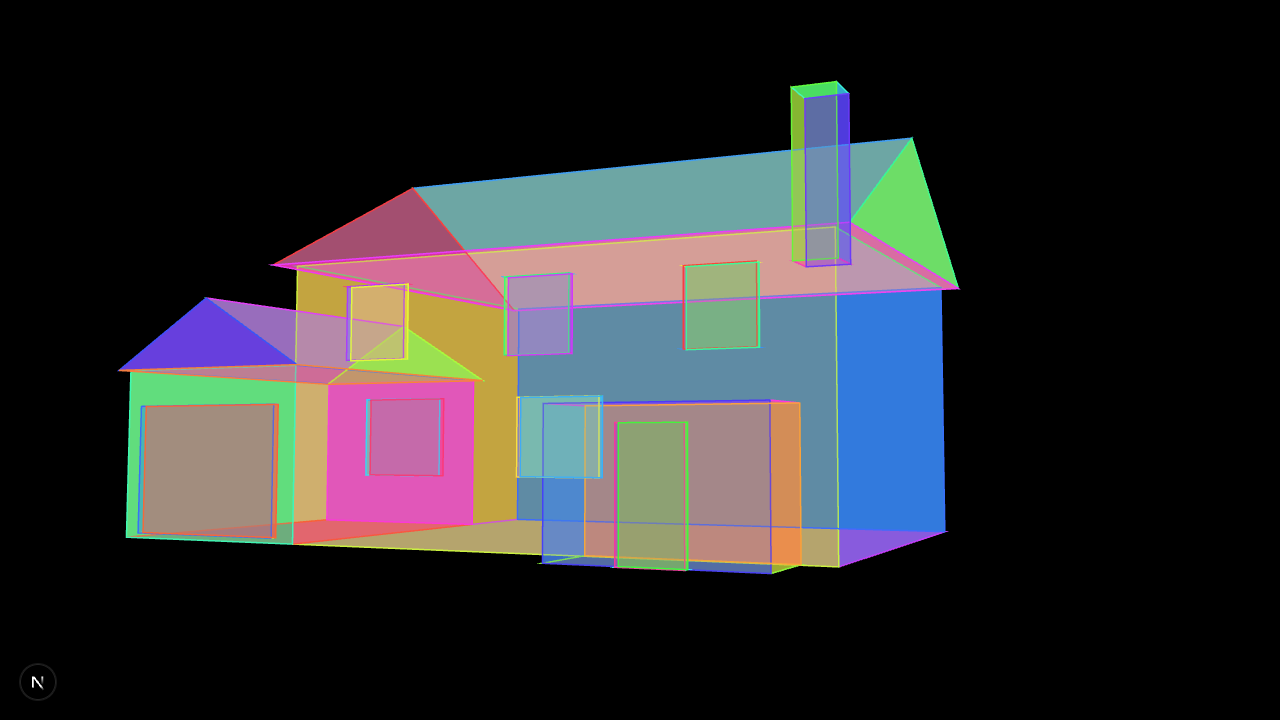
Nothing beats looking at the wall. In Setup, light the house white, in one colour, or with a different colour on every face, straight through the projector. You can see which face is which from the lawn and nudge any that miss. The projector window also shows the model wireframe and the outline being traced while you work, so somebody at the building sees the same thing you do.
Align
Where the picture meets the real world, in the Display tab's Align panel:
- Turn on Grid or Grid + corners.
- Show full frame temporarily ignores the silhouette so you can see the whole projector output.
- Drag the four green corner handles until the frame lands on the building.
- Barrel / pincushion corrects lens curvature, Edge feather softens the outer border, and the grade controls fix brightness on a dark or light wall.
The corner pin is a display correction applied last, so it never changes the artwork; it is the thing to touch when the projector has been bumped.
Projector
The Projector panel sets where the projector sits and what it is aimed at, and shows the resulting throw distance and image width at the aim point. Lens shift models an offset lens: it slides the image up the wall without tipping the perspective, which is what most projectors on the ground want.