
Create a projection mapping show, step by step.
The real workflow from a connected projector to a mapped, timed, full-screen show—with what Projector Show handles called out at every step.
Open the app and connect
Sign in, connect the projector as a computer display, and choose the authoring resolution. Nothing installs on the computer.
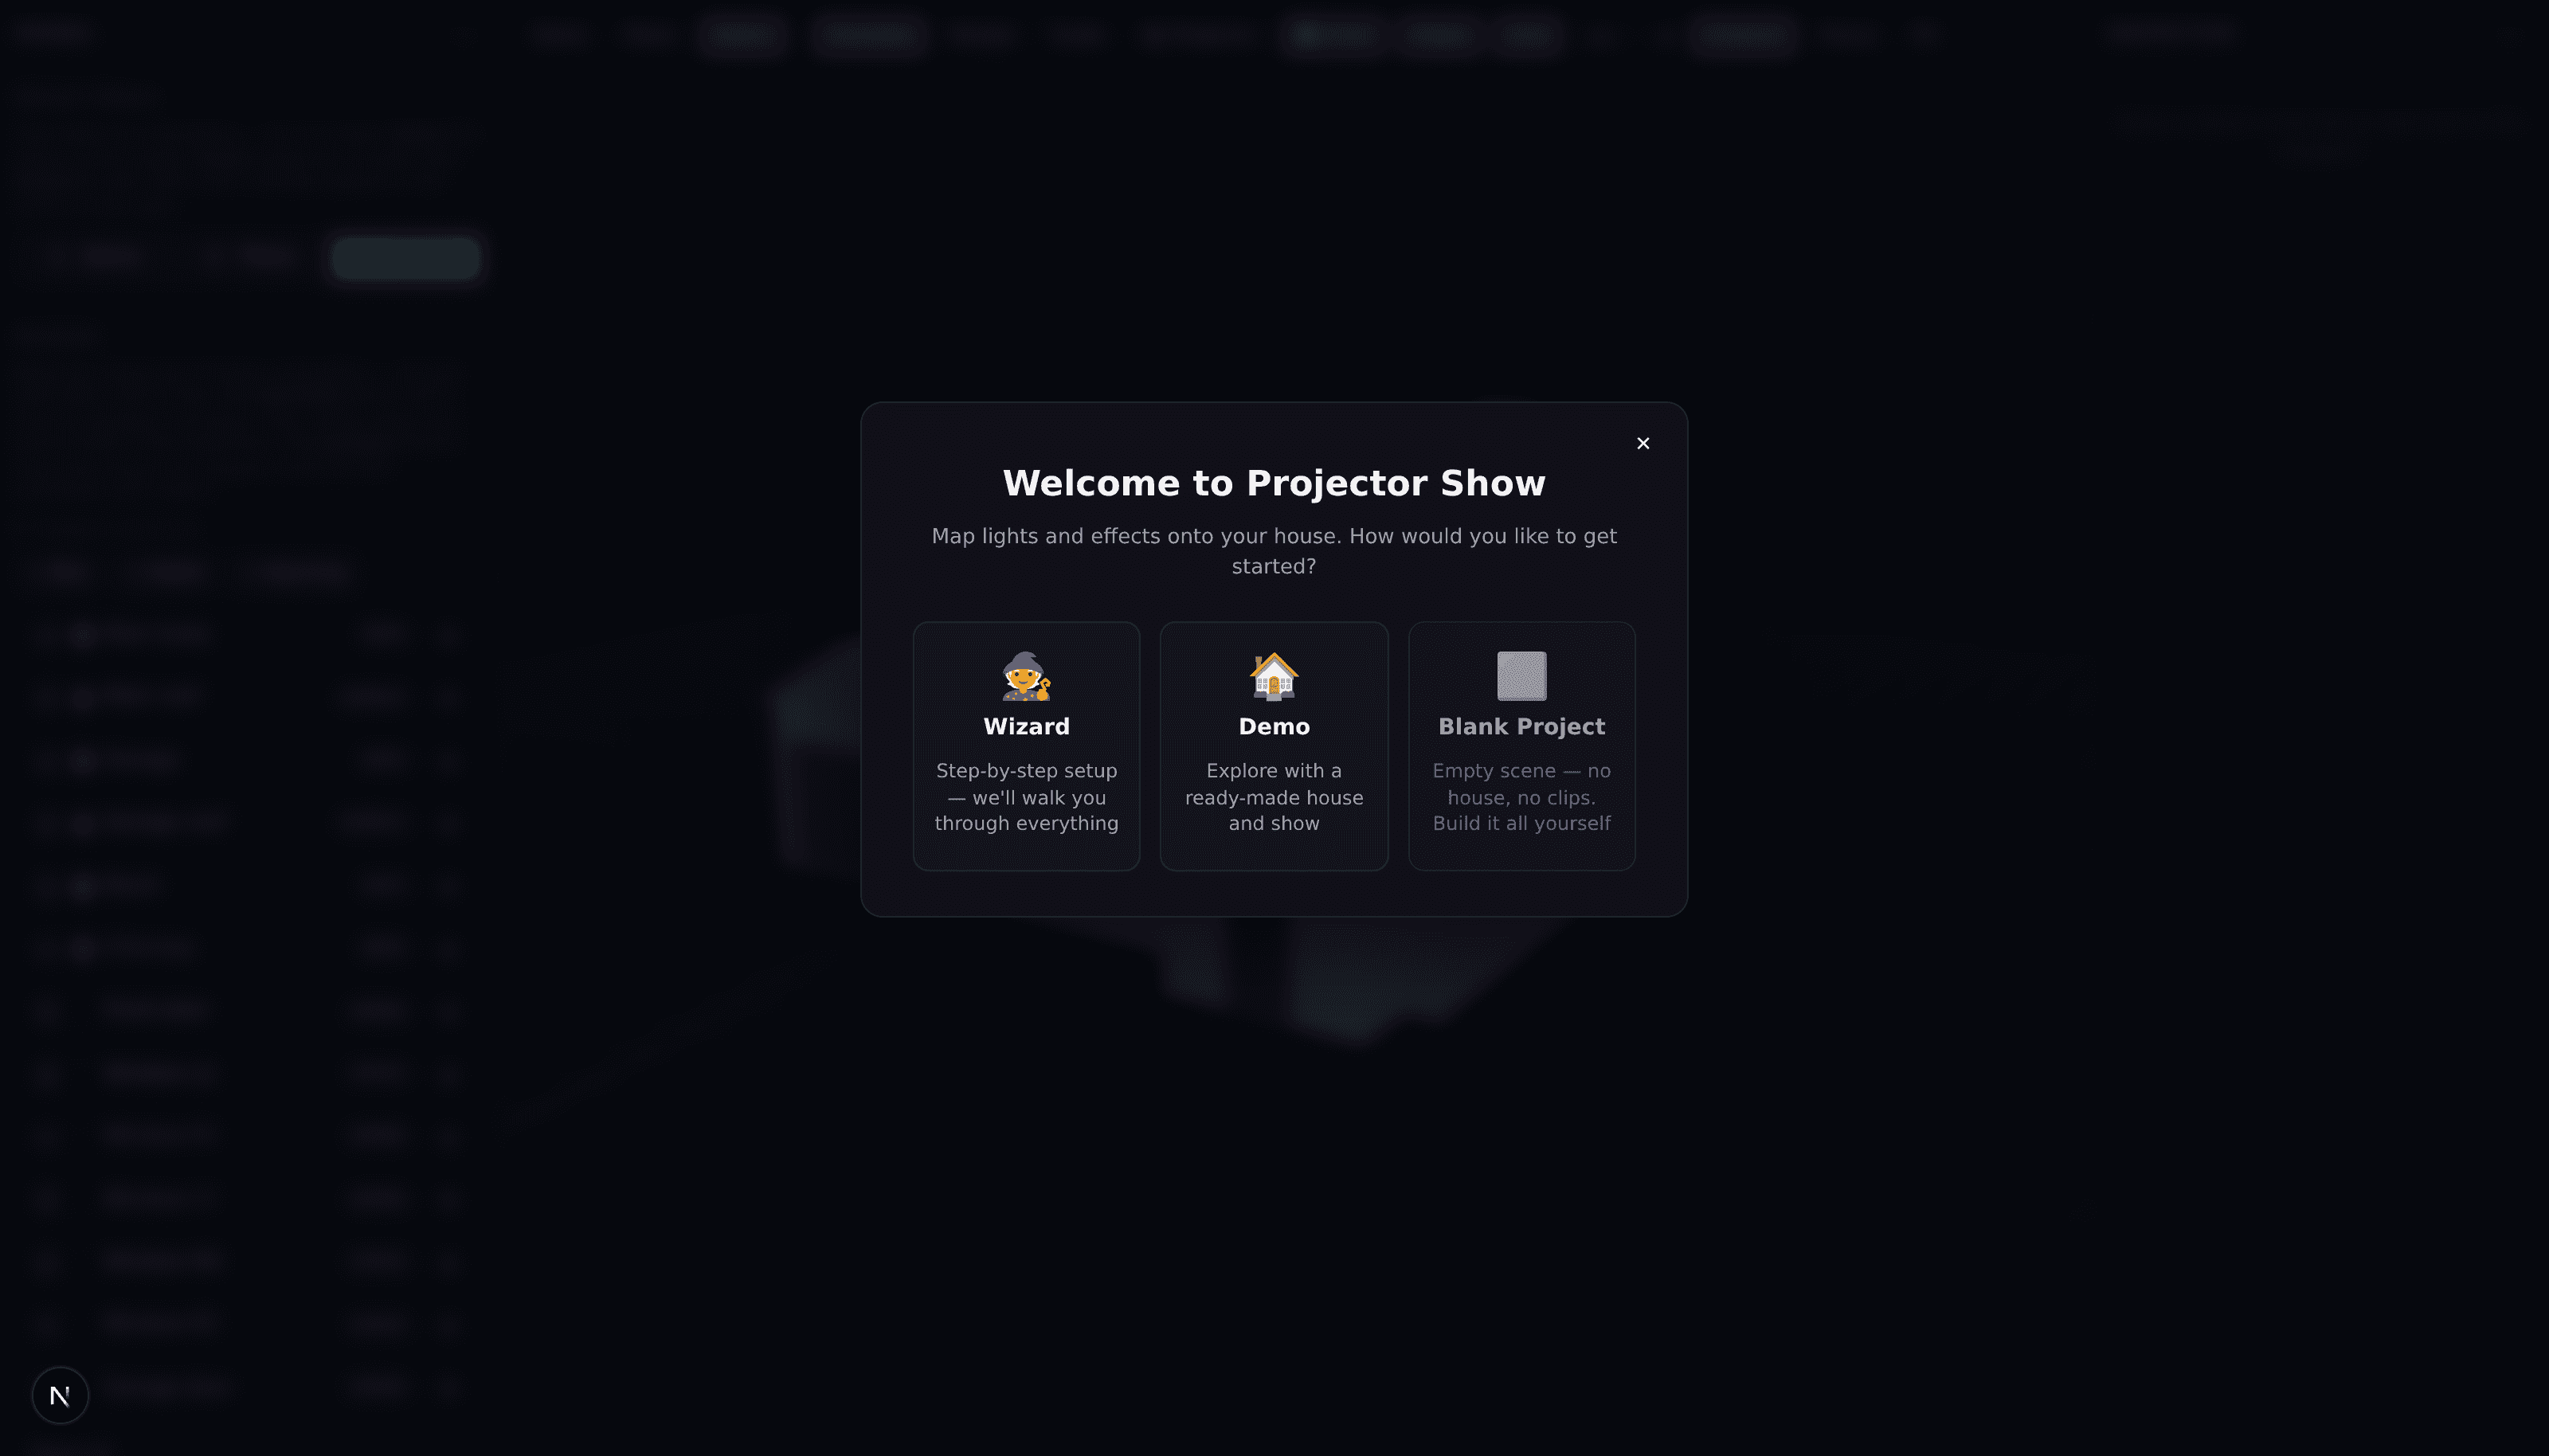
Build or trace the surface
Load a sample model, build with boxes and gable roofs, or use a house photo to solve the view and trace faces.
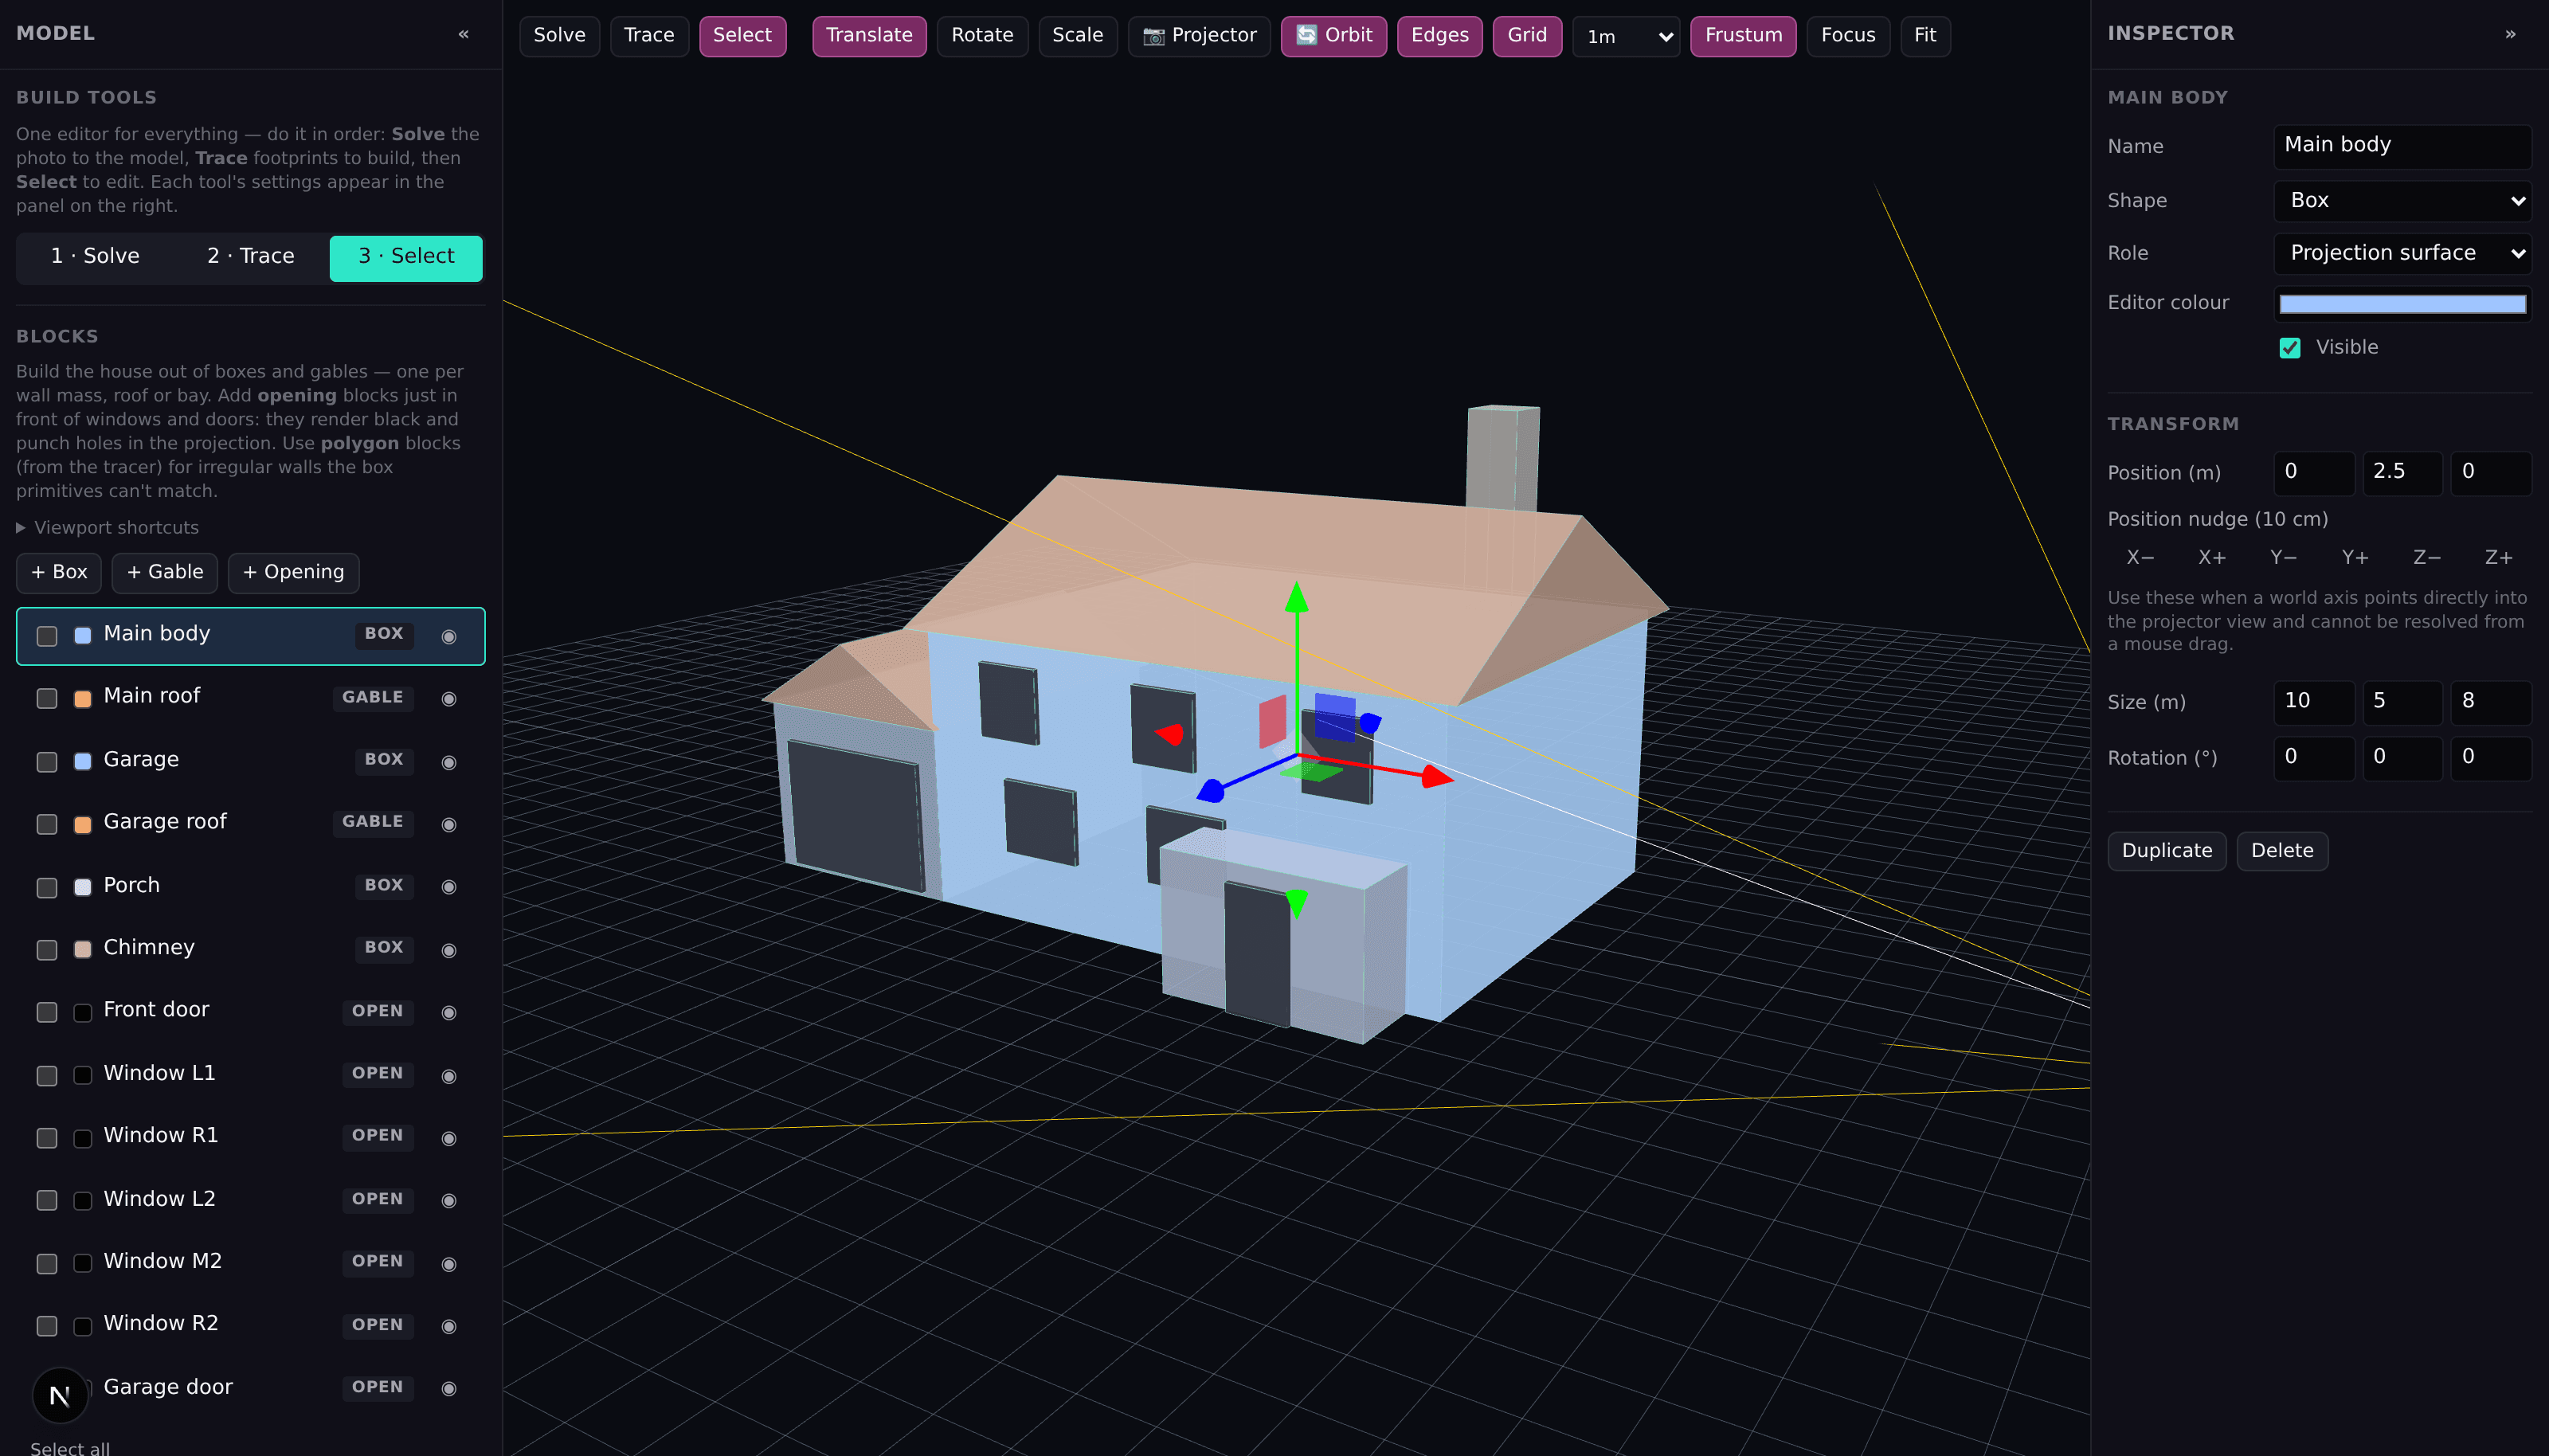
Set the projector view
Enter the projector position, aim, field of view, and lens shift. Compare the calculated throw and image width with the physical setup.
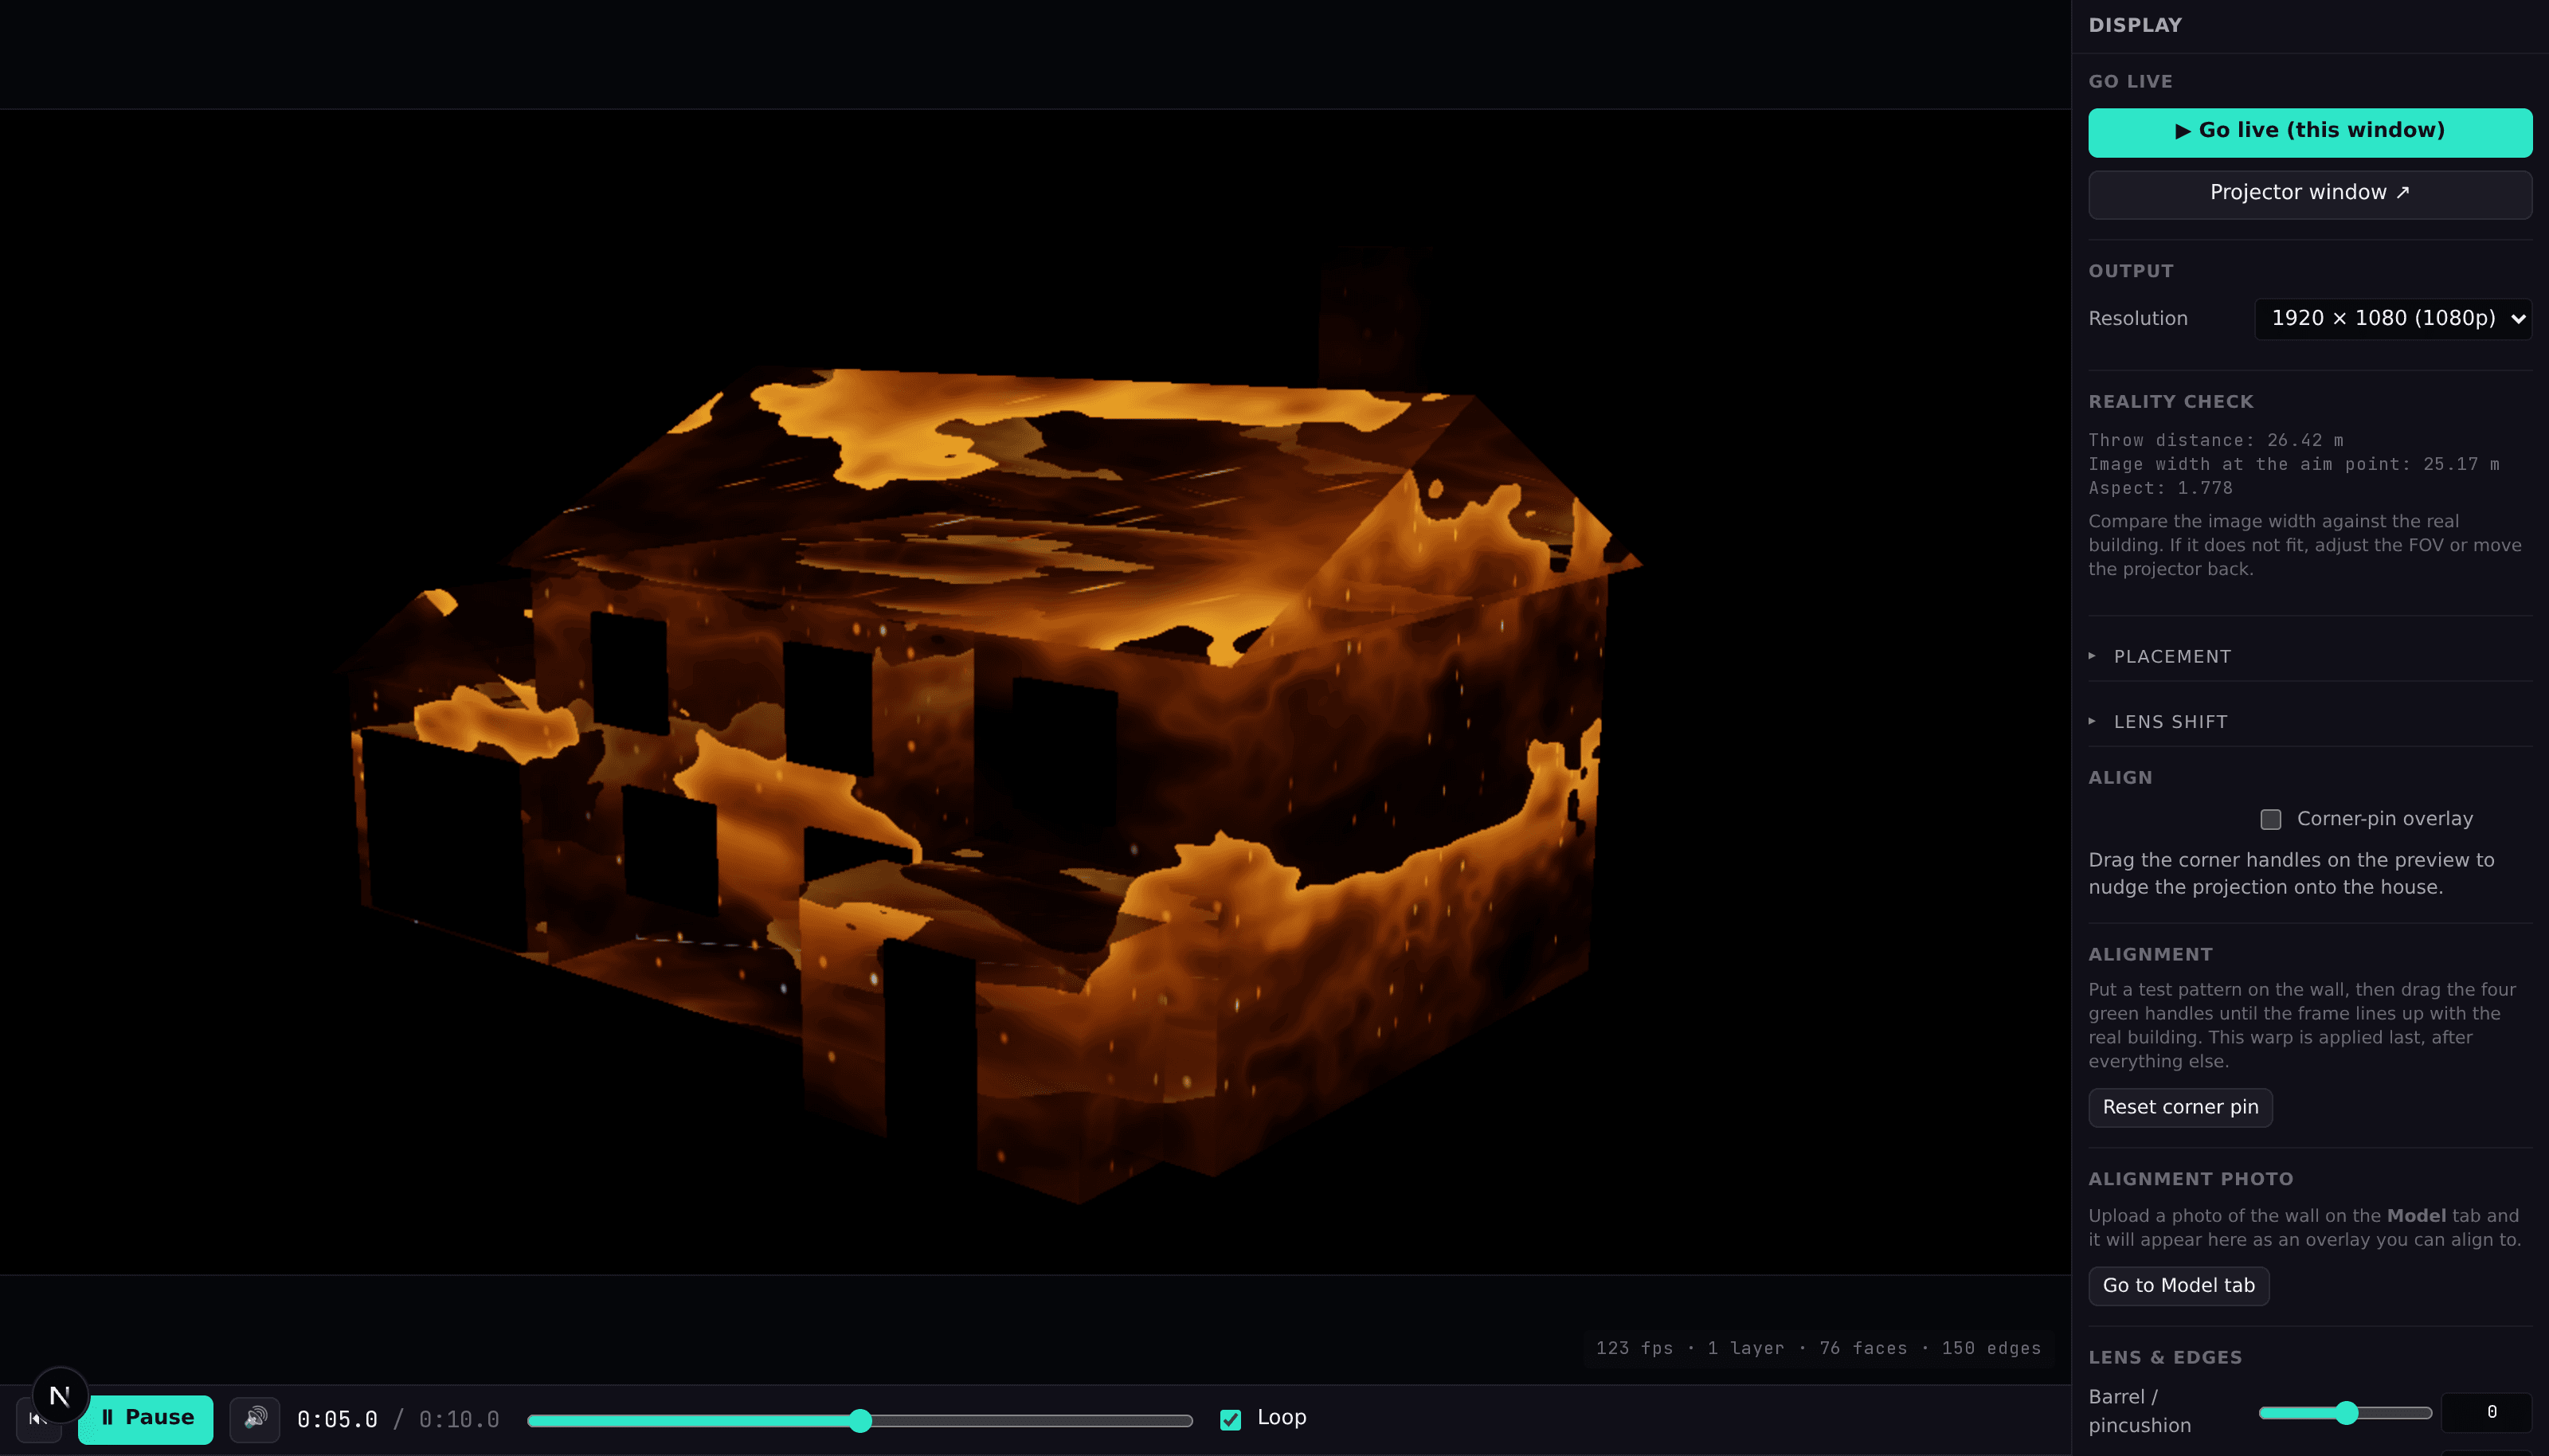
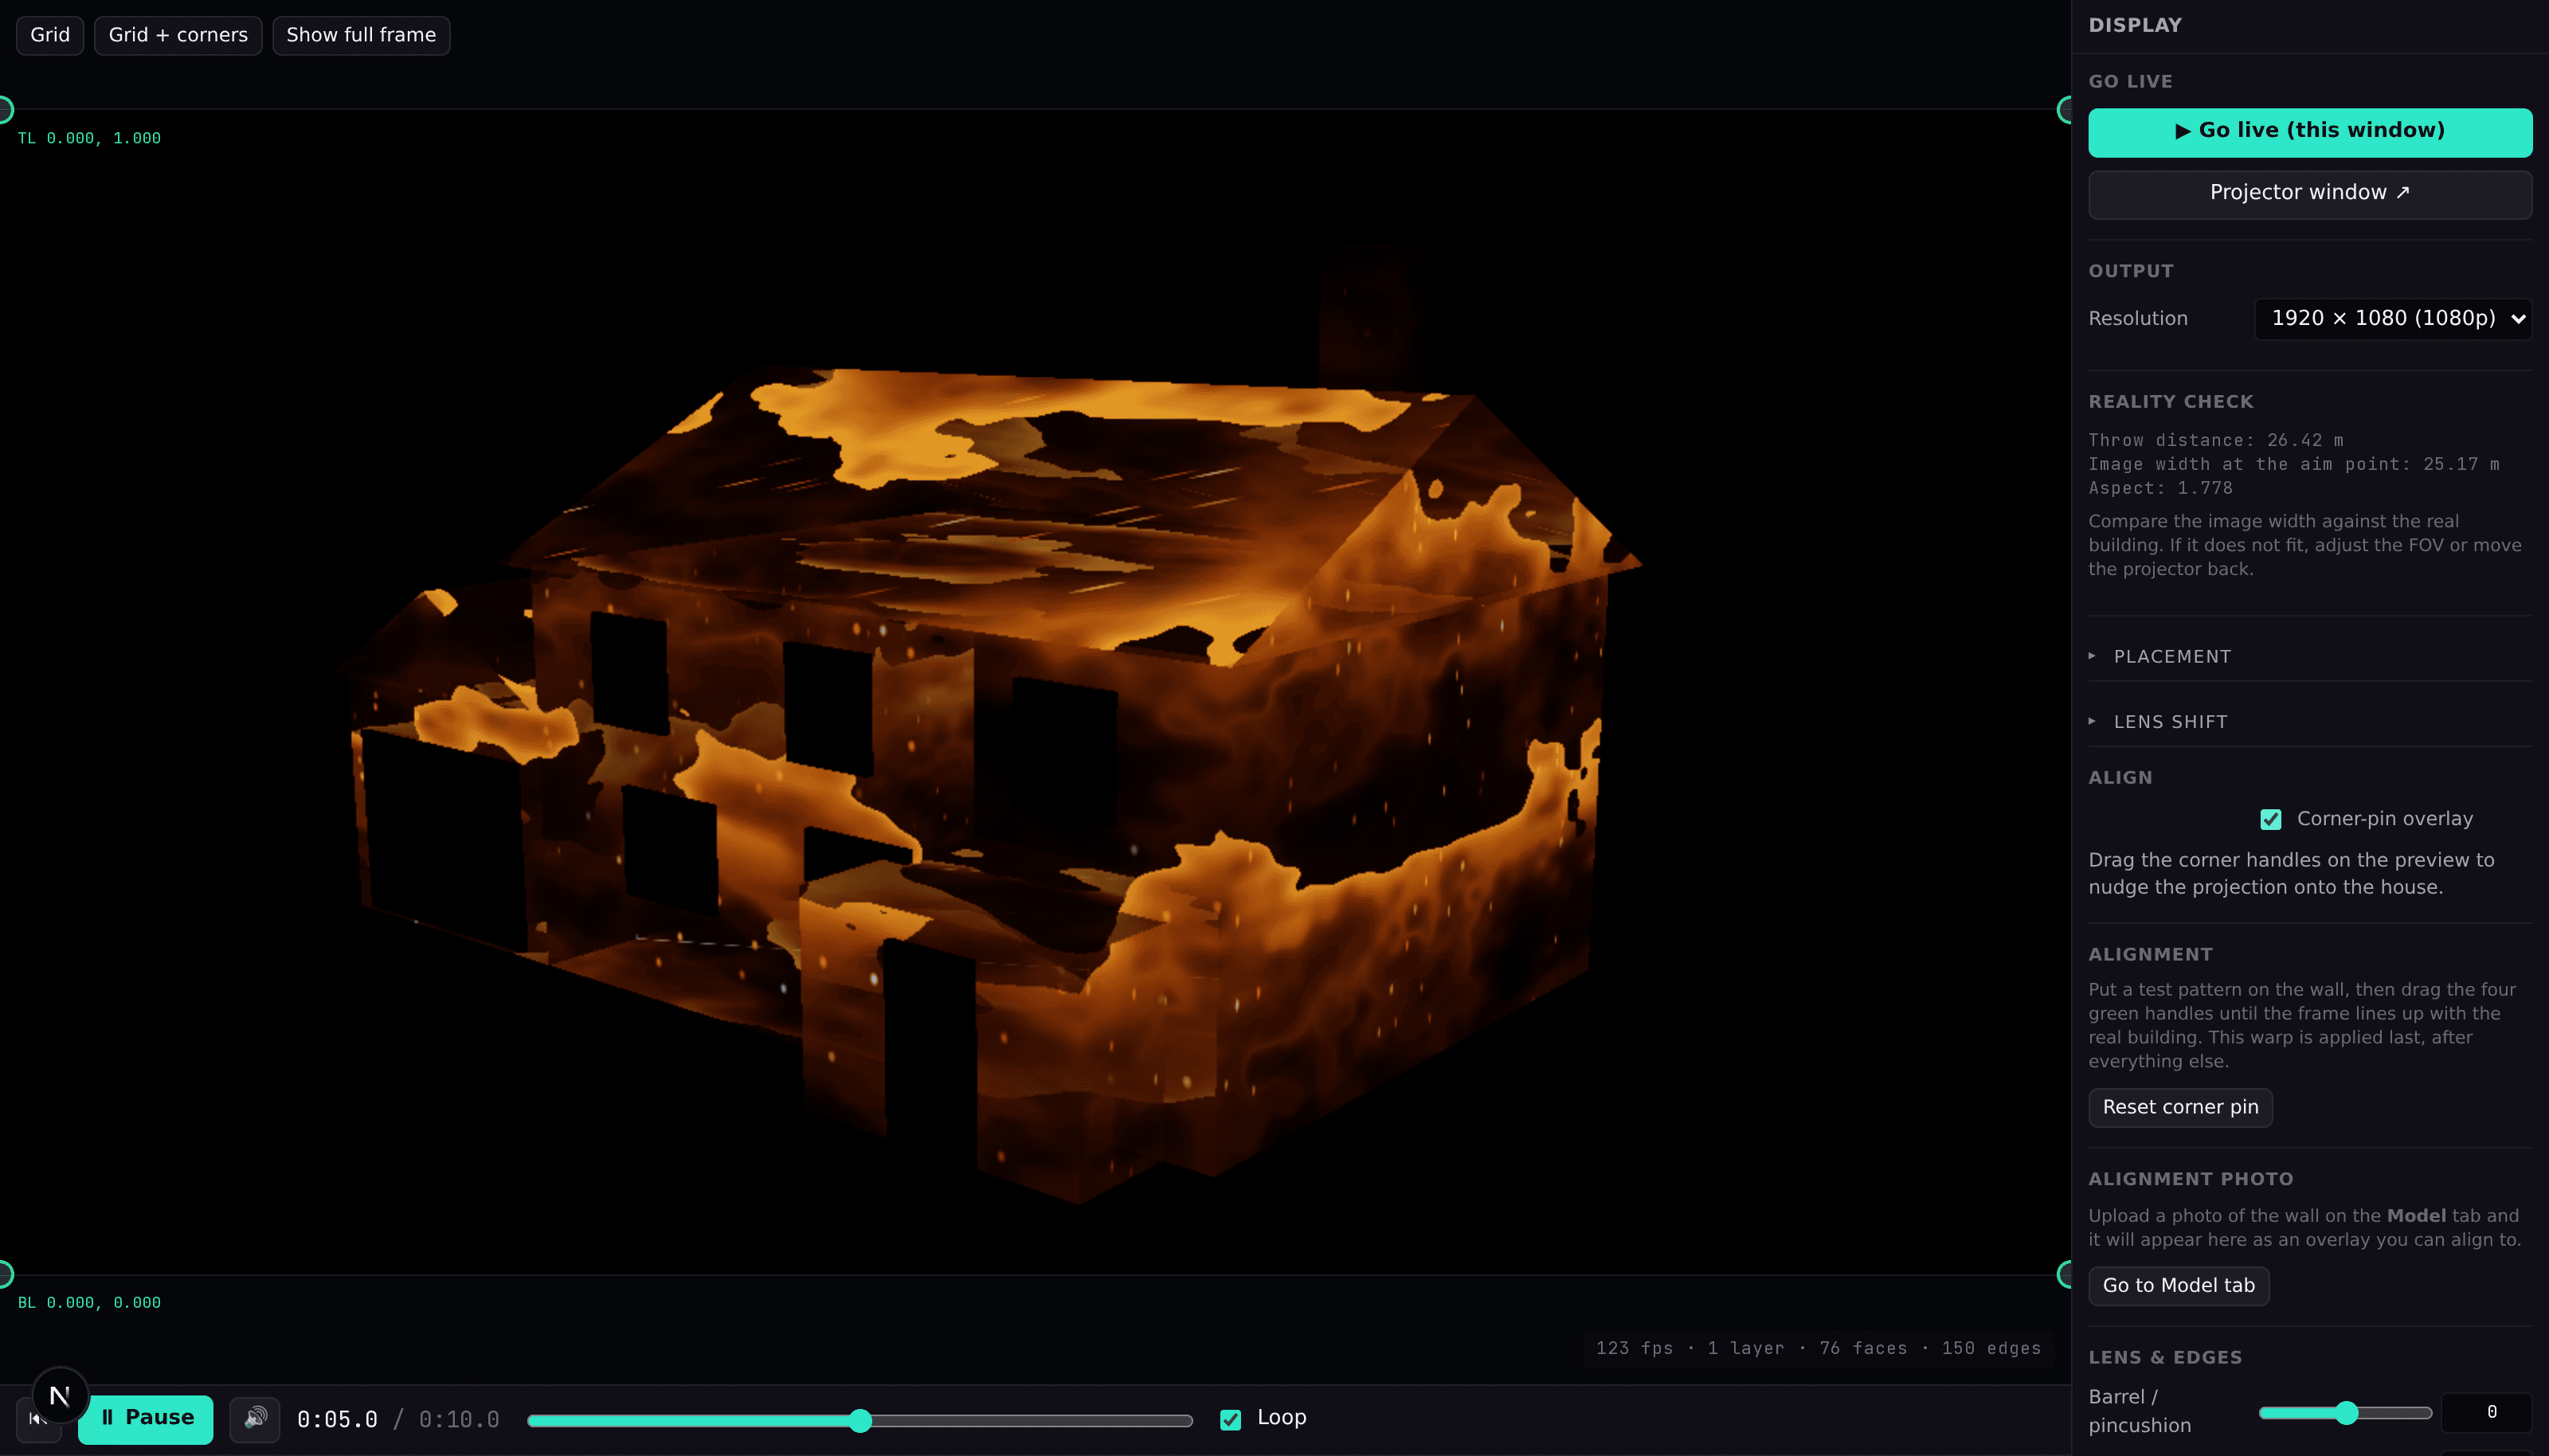
Align the frame
Show the calibration grid and drag the four corner handles onto the real surface. Correct lens curvature, soften an outer edge, and grade the image if needed.
Create and play
Load a sample show or add effects and your own media to timeline tracks. Open the clean projector window, move it to the projector display, and take it fullscreen.
What you need on the day
A compatible computer
A laptop or desktop with a current browser and WebGL2 support. Test the exact machine before show night.
A projector and cable
Connect one projector as an extended display. Throw distance, brightness, and resolution should suit the surface.
A dark-enough environment
You need enough darkness to see the calibration grid and projected content clearly.
A Projector Show account
The designer currently requires sign-in. Creating and using the free tier does not require a card.
Measurements or a photo
Approximate dimensions help the model; a straight, clear facade photo can support the tracing workflow.
Optional outdoor protection
For outdoor displays, use an enclosure and installation approach appropriate for weather and electrical safety.