
Getting started
Projector Show maps light and video onto the shape of your house. You trace the walls, roof, windows and doors once, then build a show out of effects, video, photos, sound and talking characters that wrap around that shape instead of sitting flat on the front of the building.
What you need
| Minimum | Nice to have | |
|---|---|---|
| A projector | Any HDMI projector. Lumens matter more than resolution outdoors. | 3,000+ ANSI lumens if the street is lit. See the projector guide. |
| A computer for designing | Any laptop or desktop with a current Chrome, Edge, Firefox or Safari (WebGL2). | Chrome or Edge, or the desktop app. |
| Something to play the show | The same computer, plugged into the projector, with the projector window dragged onto it. | A small PC on the projector running the player box, so the laptop can go back inside. |
| An account | Free. Your first show, the designer and player boxes all work on the free plan. | A paid plan for premium effects and MP4 renders above 320p without the corner mark. See pricing. |
The designer
Open projectorshow.com/app and sign in. The first time, a welcome screen offers three starts: the step-by-step setup wizard, a ready-made house and show to explore, or an empty scene. You can reopen the wizard any time from Help → Setup wizard.
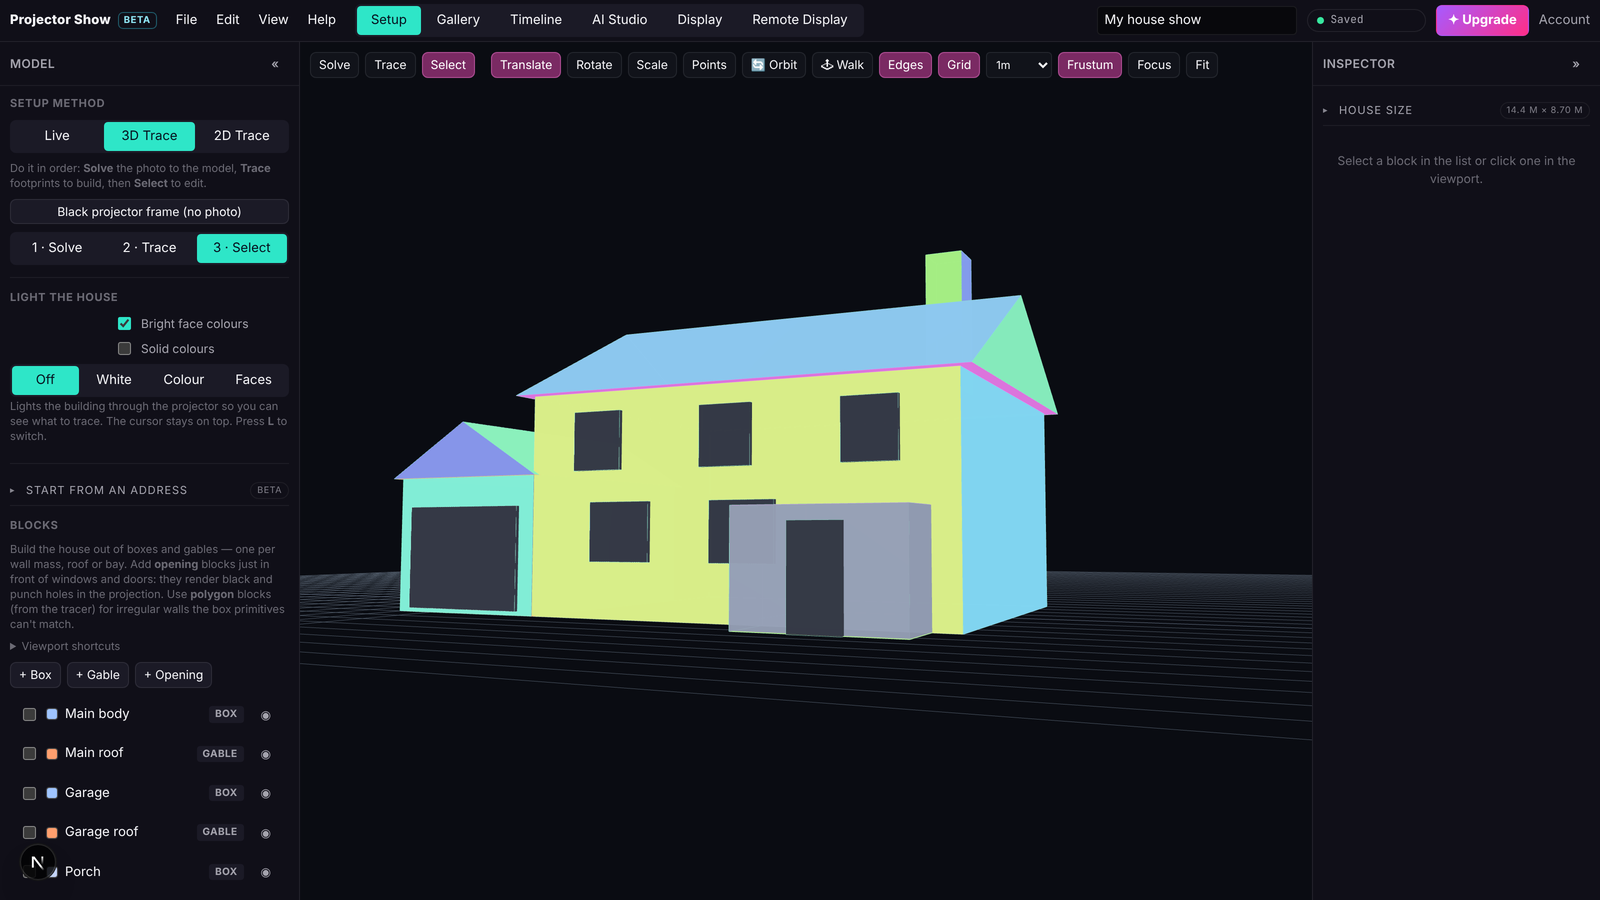
The designer has a menu bar (File, Edit, View, Help) and six tabs:
| Tab | What it is for |
|---|---|
| Setup | Build the model of your house: Live through the projector, 3D Trace from a photo, or 2D Trace. Map your house. |
| Gallery | Shows other owners have published, and shared media. Put one on your timeline and it is mapped onto your own house. |
| Timeline | The show itself: the Library on the left (Media, Samples, Effects, Compositions), the preview, the timeline and the Settings panel. Effects and Timeline and media. |
| AI Studio | Generate images, video and songs for the show, when a provider is configured on your account. |
| Display | The projector window, fullscreen output, Align and Export. Display and Live Mode. |
| Remote Display | Your player boxes: pair, cast, playlists, schedules, Jukebox, games, TV & web, screens and sound. Remote Display. |
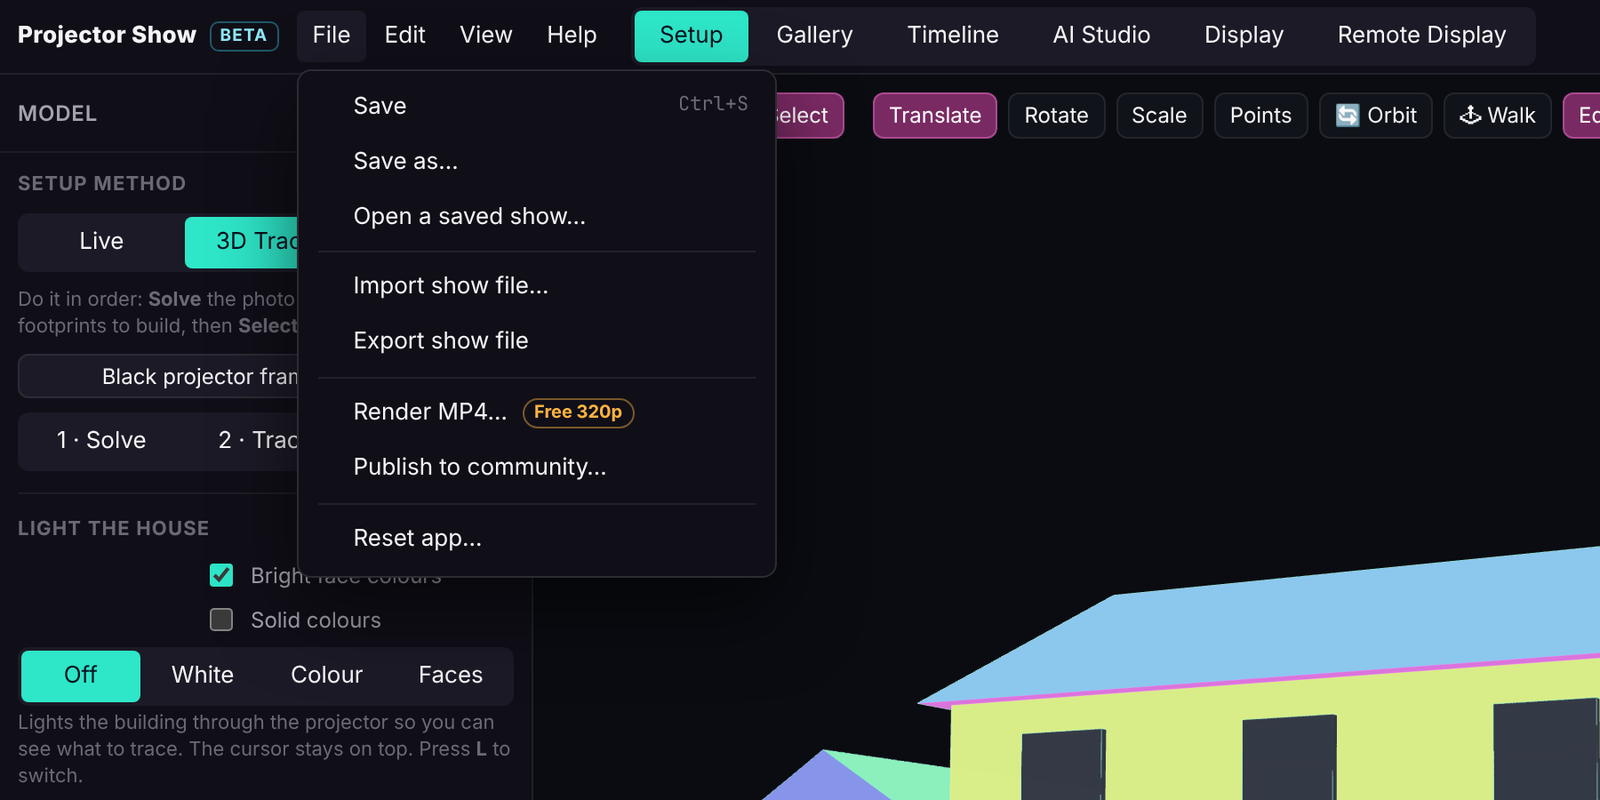
Shows save to your account (File → Save, Ctrl/Cmd+S). Every save is a revision you can go back to from File → Open a saved show….
Your first show in six steps
- Map the house. Open Setup. The quickest honest route is Live setup: put the projector window on the projector, drag the fit box onto one box-shaped part of the house, then trace the walls and openings on top. Details in Map your house.
- Check it on the real house. In Setup, light the house white or give every face its own colour so you can see which face is which, and nudge any that miss.
- Add effects. Open Timeline. In the Library's Effects tab, click an effect to see it on the model and press + Track to drop it onto the timeline at the playhead. Drop a video or photo straight onto a face of the house in the preview to play it there.
- Add sound. Drag a song onto the timeline. Audio-reactive effects and light shows follow it.
- Play it on the projector. Open Display → Projector window, drag the window onto the projector and press F for fullscreen. Space plays.
- Leave it running. Render the show to MP4 (File → Render MP4…), add it to a playlist on a player box, and give it a schedule.
Where to get help
- Help → Setup wizard inside the designer walks through the house step by step.
- The troubleshooting page covers the problems people hit most.
- The Discord is where other owners and the people who build Projector Show hang out.
- Help → Send feedback goes straight to us.